ArcGIS Earth – ArcGlobe
What is ArcGIS Earth?
The ArcGIS Earth is a free and easy-to-use application, to visualize, and evaluate events, using 3D data on the Globe. It’s Provided 3D models, Edit KML, and Share maps.
Features:
- Explore on the Globe
- Visualize and edit a variety of data types.
- Measure 3D models, shapes, and distances
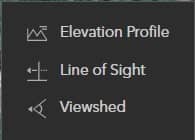
- Perform line-of-sight and view-shed analyses.
- Create elevation profiles, Style with symbology.
- Sketch, annotate, save, and share KML and KMZ files.
- Edit KML data
- Operate in connected and disconnected environments
Benefits:
- Access data from local files, ArcGIS Online, ArcGIS Enterprise, and web services
- 3D Visualization and Analysis- View-shed, and Elevation
- Visualize 3D data via Mobile Scene Packages. and save and share your KML files with collaborators
- Add a variety of data files- like KML, KMZ, and TXT- and 3D models as well as image; map feature
Add map layers from files and ArcGIS Living Atlas of the World, then pan, zoom, and tilt to view them, and you’ll share your map data via Email.
ArcGIS Earth Download
Download the Application for Desktop and Mobile.
To Install Arc-GIS Earth, complete the following steps. ArcGIS Earth opens, in the Take a tour pop-up, click Skip.
ArcGIS Earth Tutorial
In this lesson, Learn ArcGIS Earth Online application that displays 2D and 3D data, around the Globe.
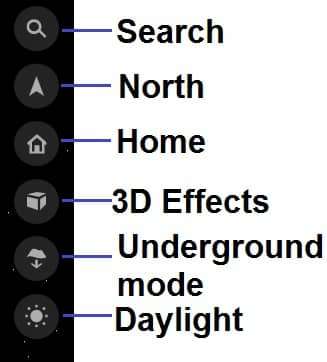
Toolbars


Other important Tools are used in ArcGIS Earth. These are Tools available right-side in Arc-GIS Earth Application.
Sign Up/ Sign In
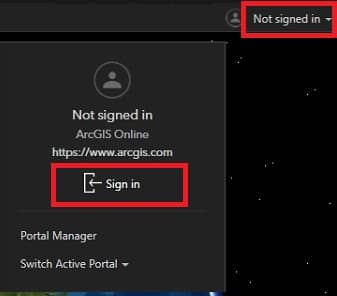
Before you Start Arc-GIS Earth, first Sign in.
In the upper right corner, click Not signed in, then click Sign in.
(If you don’t have an ArcGIS Online account, you can Sign Up first.
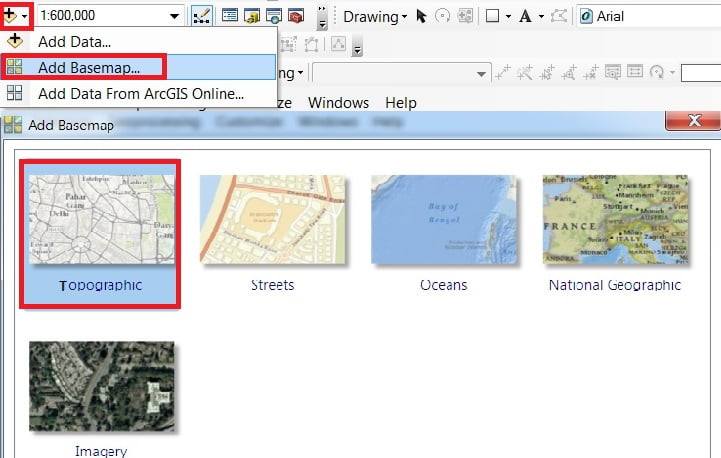
Change Basemap
The default Basemap displayed in ArcGIS Earth is Imagery. You’ll switch to the other basemap, or continue this.
On the toolbar, click the Basemap and Terrain ![]() button
button
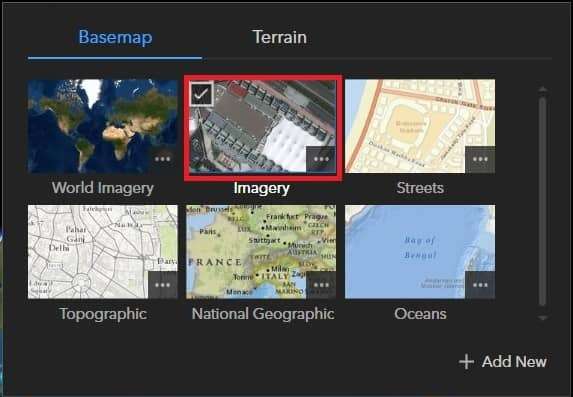
Click anywhere outside the basemap gallery to close it.
Explore Map
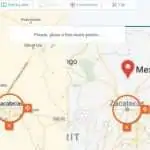
Click the Search button, in the search box type any Place name (e.x.-New York). Click to select the correct result.
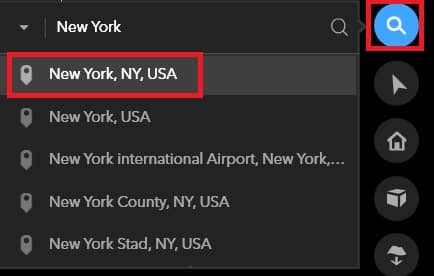
Automatically map zooms to the location.
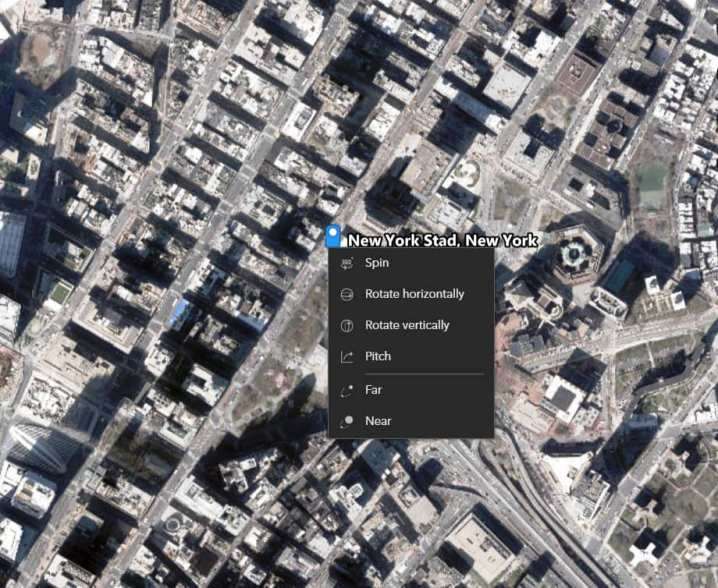
To Navigate the map, Five options are provided: Spin, Rotate, Pitch, Far, and Near.
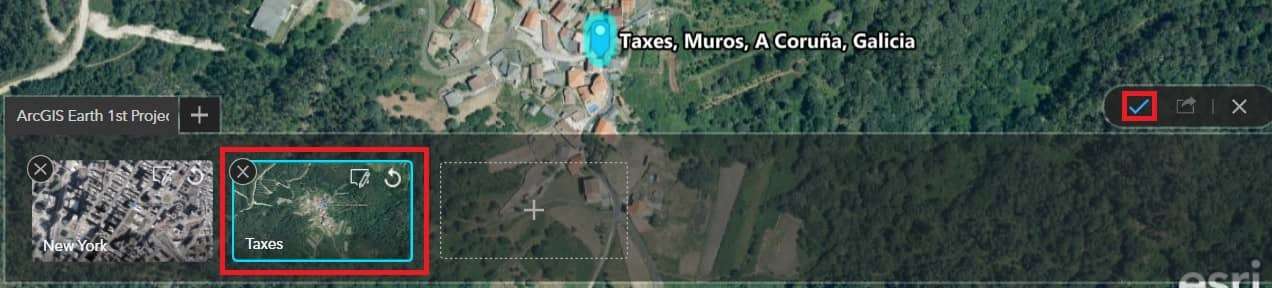
Bookmarks
You’ll create a bookmark from the different specific geographic locations that you can navigate to later while you explore the world.
On the Toolbar, click the Bookmarks ![]() button, Click the Add Bookmark, then Click the Done button.
button, Click the Add Bookmark, then Click the Done button.
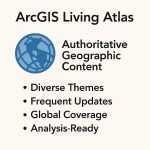
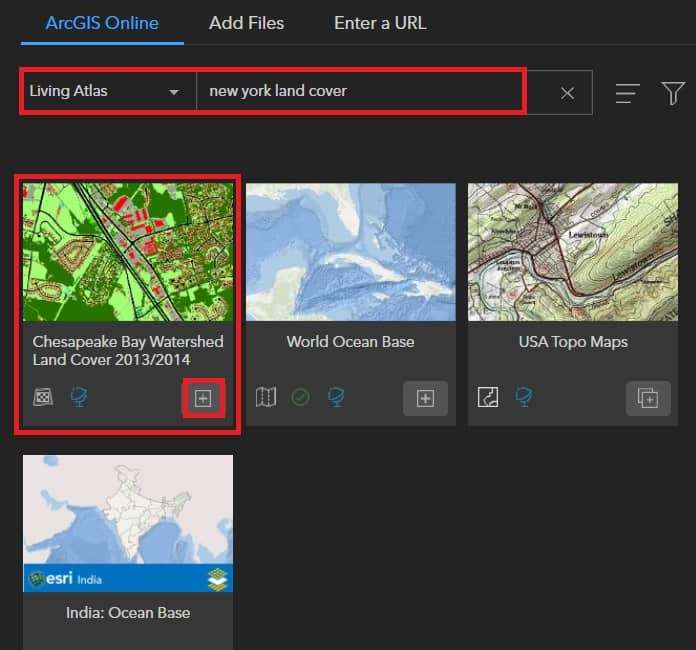
Add Data from Living Atlas
On the Toolbar, click the Add Data ![]() button.
button.
In the Add Data window, click My Content and choose Living Atlas.
In the search box, type data name (e.x.-new york land cover) and press Enter
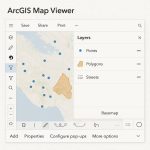
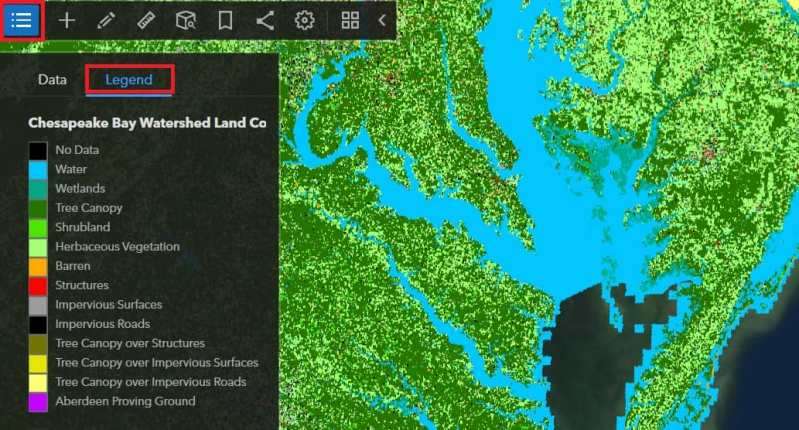
On the Toolbar, click the Expand Table of Contents (TOC)![]() button, in the TOC window, click the Legend tab.
button, in the TOC window, click the Legend tab.
Add Data from Files
At the top of the Add Data window, click Add Files. Click Select files.
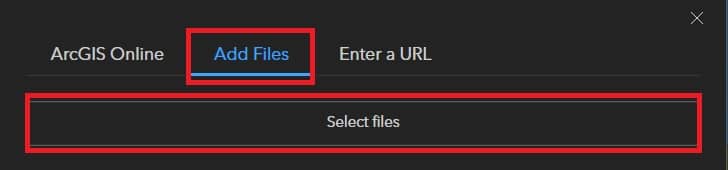
Browse the files on your machine.
Share Map
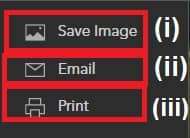
On the Toolbar, click the Share![]() button and choose Email. You can also Save and Print Image.
button and choose Email. You can also Save and Print Image.
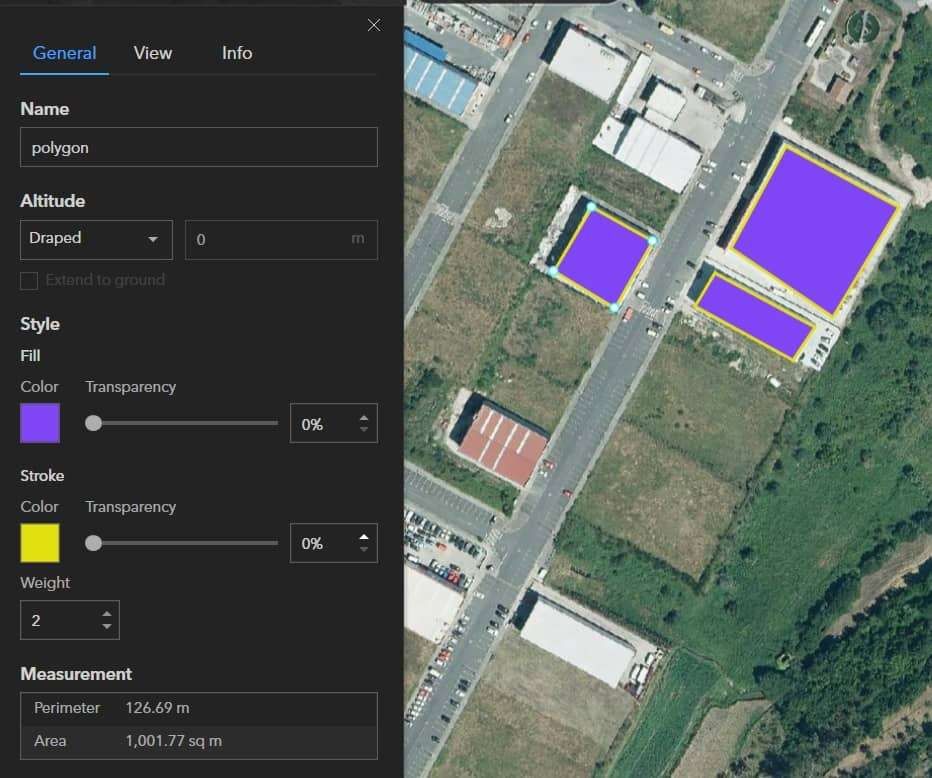
Create Vector
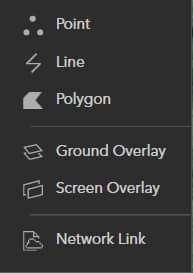
On the Toolbar, click the Draw ![]() button.
button.
Create different types of Vector data
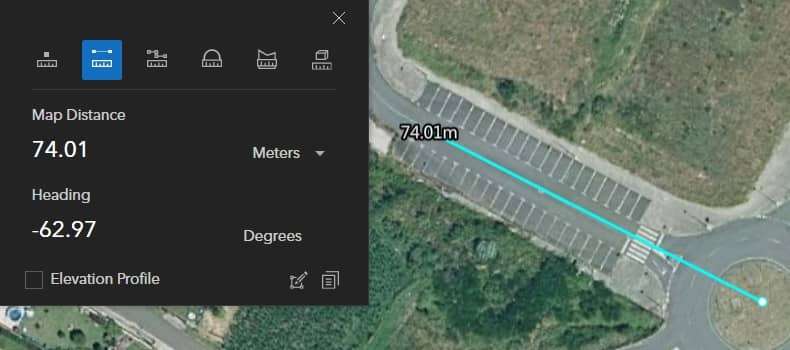
Measurement
Use Measure![]() tool, to measure Area, Length.
tool, to measure Area, Length.
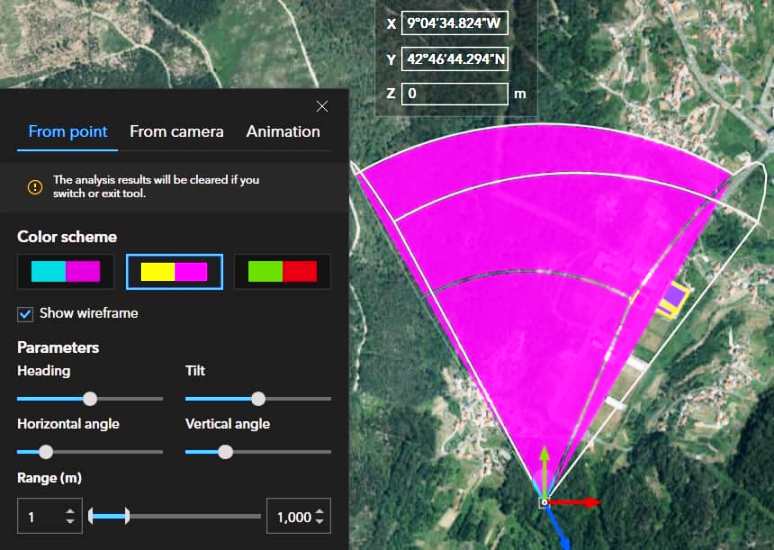
Surface Analysis
On the Toolbar, click the Interactive Analysis ![]() button, and perform Surface Analysis.
button, and perform Surface Analysis.
For eg..- Viewshed Analysis.
ArcGlobe Desktop
A ArcGlobe service provides access to a 3D view of a globe, to create a globe service. Once you create the service, supported clients such as ArcGlobe, ArcGIS Explorer, and ArcReader will be able to access the globe service remotely.
If you have already, install ArcGIS 3D extension, that is ArcGlobe, run and open it. Now you are ready to work with layers in ArcGlobe.
In ArcGlobe, you can view vector data as raster. Rasterizing feature layers in Arc-Globe allows you to maintain any cartographic symbology that you might have saved in ArcMap.
ArcGlobe Features
- Display multi-resolution image and terrain data
- Support vector data (e.g., points, lines, polygons, and 3D objects)
- Convert two-dimensional representations to 3D on the fly
Rasterize a Feature Layer in ArcGlobe
- Right-click the feature layer in the table of contents and click Properties.
- Click the Globe Display tab.
- Check the Rasterize feature layer option.
- Specify the real-world size of a symbol point unit. (If the Scale 3D symbols with distance option is checked, symbols maintain the same size in relation to the globe. If not, the symbols will maintain the same pixel size, regardless of the distance to the camera.)
- Click OK.
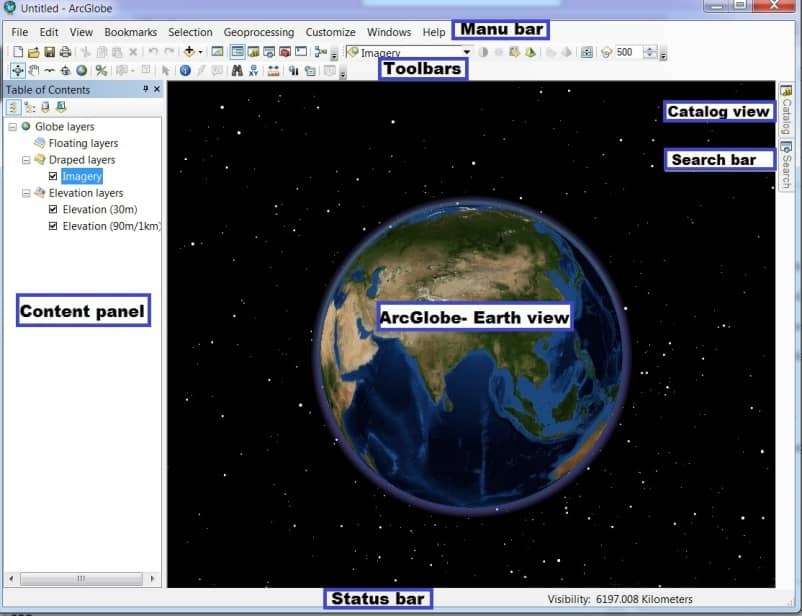
ArcGlobe User Interface
Setting ArcGlobe to open with default Layers
- Click Customize and click ArcGlobe Options.
- Click the Default Layers tab.
- Check Use my choice of default layers.
- Click Make Default Layers From Current Document. This captures the layers currently in the table of contents as your default layers.
- Click OK button.
ArcGlobe Tutorial
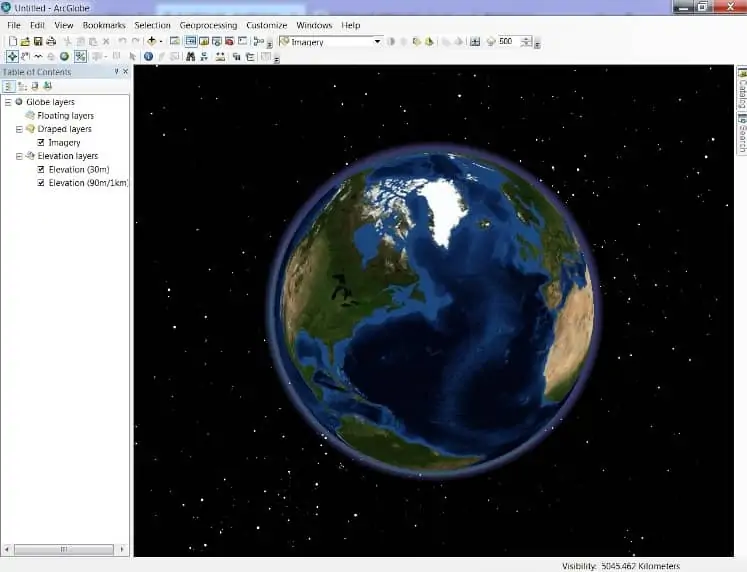
How to use ArcGIS Globe
1. Open ArcGlobe Application, and it’s appear blank Globe.
Change Basemap
2. You can change the Basemap as you choose, Click ‘+‘ button and select it.
Add Data
2. Add Georeference Data in ArcGlobe Layer. This Data pointed in Globe same Coordinates. You can also check your data accuracy in the ArcGlobe.