ArcGIS Survey123
Introduction
ArcGIS Survey123 is a simple and intuitive form-centric data gathering solution. It enables users to create, share, and analyze surveys on a variety of devices with or without an internet connection.
Survey123 is widely used for field data collection, especially in environmental monitoring, asset inspections, public health, and community engagement.
Features:
- Smart surveys
- Quickly create surveys
- Access anytime, anywhere
- Optimize field operations
- Flexible for varied scenarios
How Survey123 Works
Overview:
- Create Survey – Design in Web Designer or Survey123 Connect.
- Publish Survey – Share via web link, QR code, or app.
- Collect Data – On mobile (iOS/Android) or desktop, online or offline.
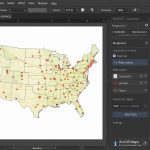
- Review & Analyze – View results in ArcGIS, Dashboard, or export data.
- Take Action – Integrate results into GIS workflows or share insights.
The Survey123 best way to collect high-quality form-based data in the field and seamlessly add to your GIS survey. It’s allows to create a data collection workflow using smart forms to decide which questions to ask, and which answers are acceptable survey.
The 123 makes it easy to create questionnaires in a spreadsheet by keeping is at simple or specific knowledge and skill of your workforce survey.
Survey123 runs natively on both mobile and desktop, so you can collect data on your current hardware. Users can upload their data on the fly, where it’s immediately back at the office for analysis, feedback, and response. You can also work offline and sync it to the database later.
ArcGIS Survey123 Create Account
Create an Account in Survey123 portal. Click Sign in button.
You have already account in ArcGIS Online, just Log in to your account.
(ArcGIS Survey123 wants to access your ArcGIS Online account information)
But most important part of this tutorial, you need an ArcGIS Online subscription account to try ArcGIS Survey123, otherwise you can’t access this.
Survey123 Download
Survey123 Tutorial
Requirements
- ArcGIS Online or ArcGIS Enterprise account
- Survey123 field app
- Android, iOS, or Windows smartphone or tablet
Create Survey
Steps:
1. Go to the Survey123 portal.
2. Mask sure you already sign in ArcGIS organizational account (Your account must have publishing privileges).
(If you don’t have an organizational account, you can sign up for an ArcGIS free trial.)
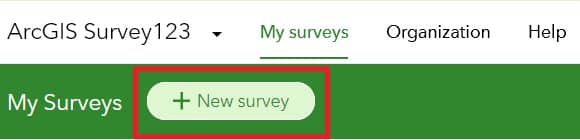
3. Click New Survey.
4. The New Survey window appears, Using the web designer section, and click Get Started (Blank survey).
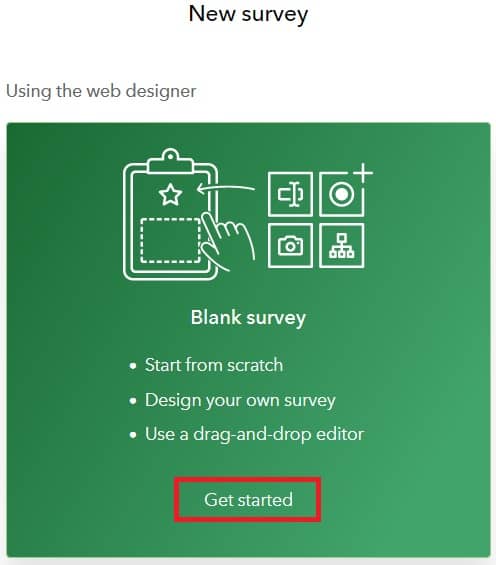
Three types of survey options are available; Blank survey, Template survey, and Survey123 Connect.
5. Now open the Survey page.
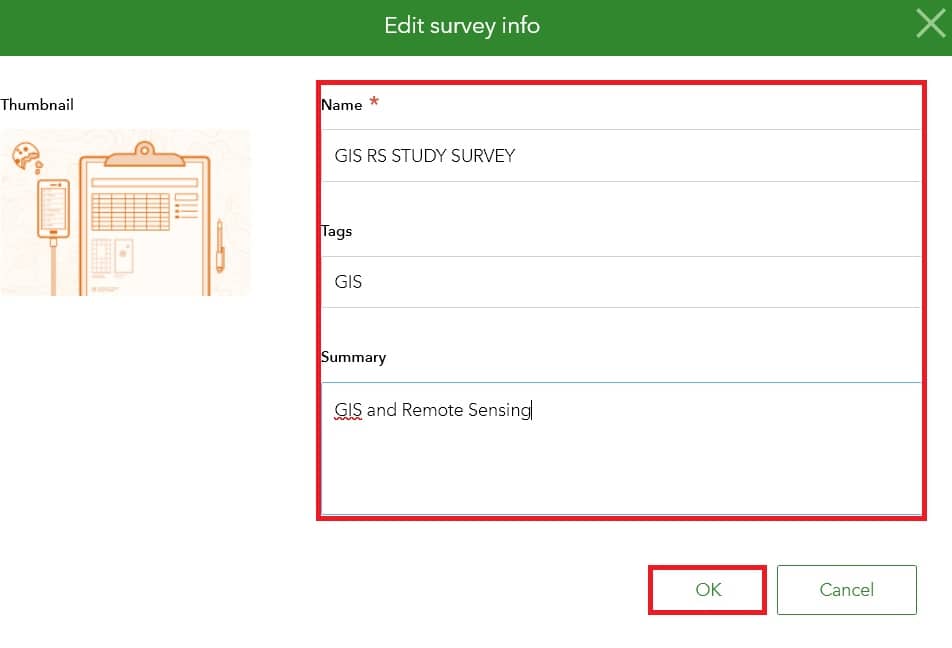
Before start designing your survey, edit your survey information, like; Name, Tags, and Summary.
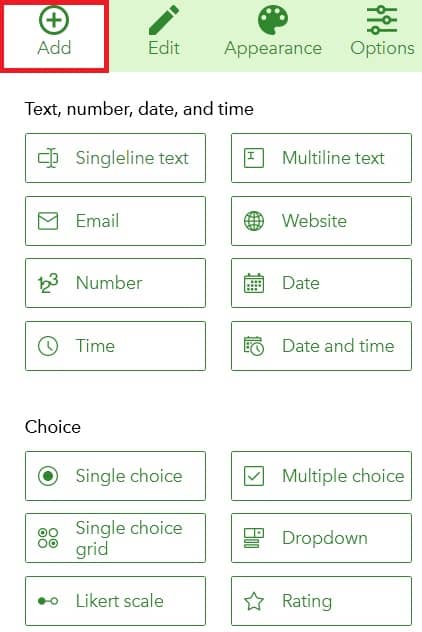
6. On the Add tab, set the Common Questions/queries options.
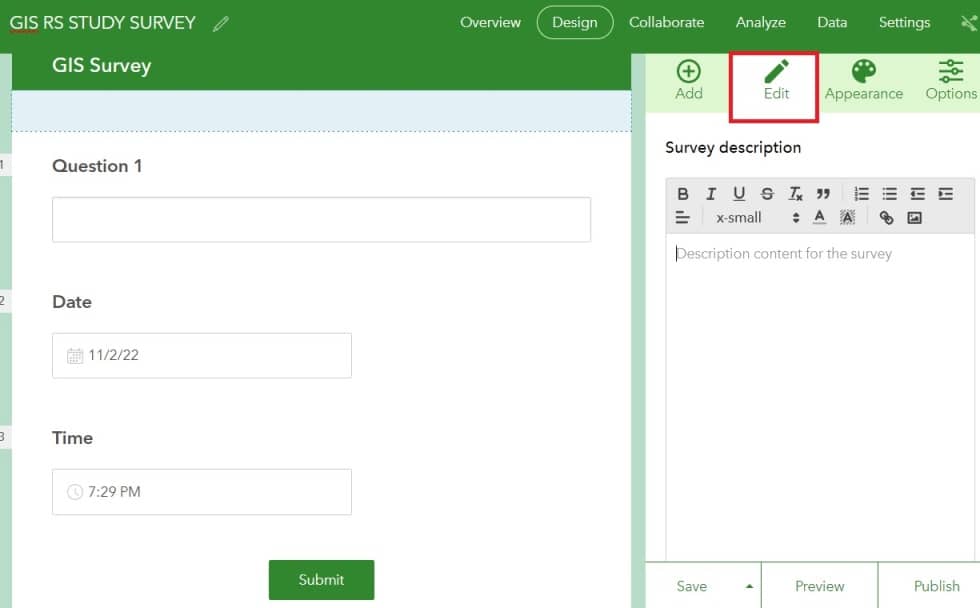
7. On the Edit tab, customize your survey Label.
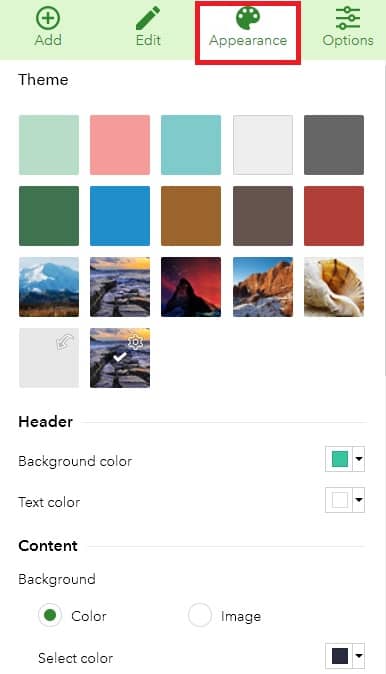
8. On the Appearance tab, change Theme color, and also customize Header, Content, and Web page color combination.
9. Options tab helps you to show/hide the survey screen preview.
10. If all the tasks are completed, Click Save.

Publish the Survey
1. Click Preview to check that all survey questions, and decoration are correct or not.
2. Click the Phone or Tablet buttons to see how the survey shows on mobile devices.
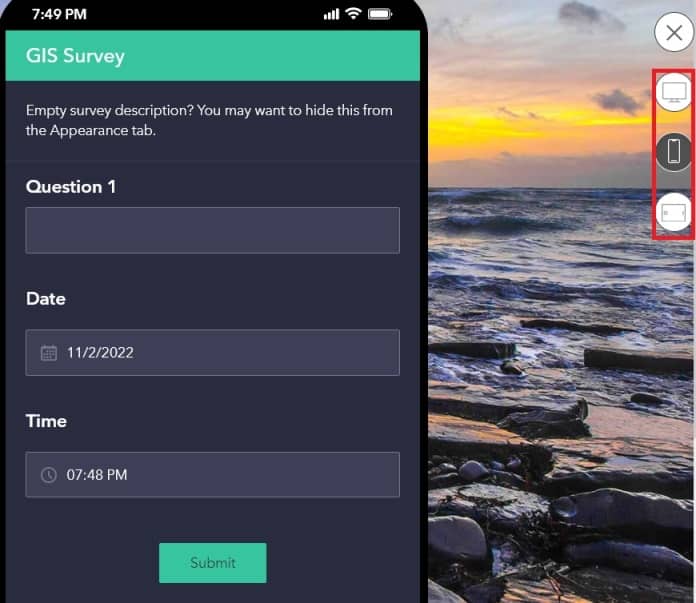
3. Click the Close Preview button to return to the survey.
4. When you’re satisfied with the survey content, you can publish it to click Publish button.
5. The Publish Survey window opens, click Publish.
Create a Survey123 Connect
- Start Survey123 Connect. (Make sure you have already download and install ArcGIS Survey123 Connect)
- Click the New survey button and write the Title name for your survey.
- Next click Samples, and choose the Basic Form sample.
- Click Create survey (you’ll see a preview of the survey you just created).
- Now Sign in with your ArcGIS organization account.
- Click the Publish button
 to publishing your survey.
Now your survey is available for download and use in the Survey123 field app.