Land Use/Cover Change Detection in QGIS
In this tutorial learn How to calculate Land use Change Detection in QGIS.
Perform Change Detection
Semi-Automatic Classification Plugin
Follow this tutorial- How to Install and Manage Semi-Automatic Classification Plugin.
Create a Data set
1. Add two different year classified images into the QGIS interface.
2. Now Open the Semi-Automatic Classification Plugin window with SCP from the Main Menu.
3. In the SCP > Postprocessing > Land cover change.
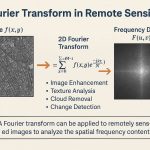
The Land cover change allows for the comparison between two classifications in order to assess land cover changes.
Assessing Change Detection
1. Select the reference classification : Refresh list, and select a reference classification raster (previous year image).
2. Select the new classification : Refresh list, and select a new classification raster (next year image).
3. Report unchanged pixels: if checked, report also unchanged pixels (having the same value in both classifications).
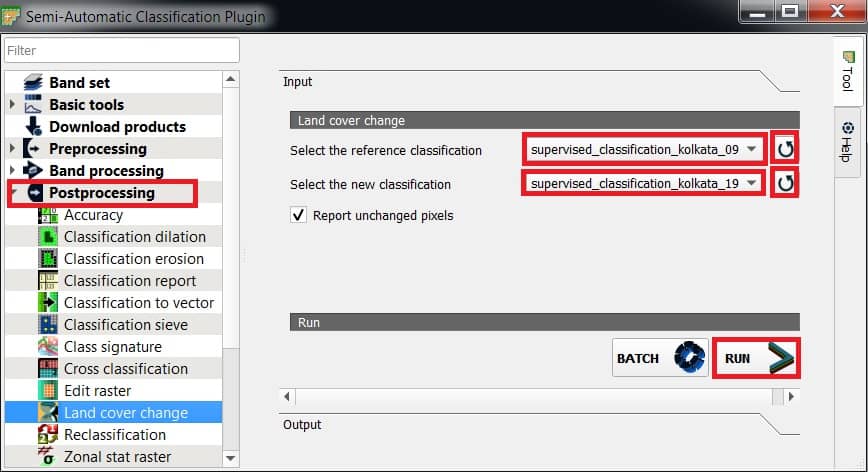
4. Finally click the RUN button, choose the output destination and start the calculation.
The land cover change detection statistics are displayed in the tab Output and the land cover change raster is loaded in QGIS.
Assessing Class
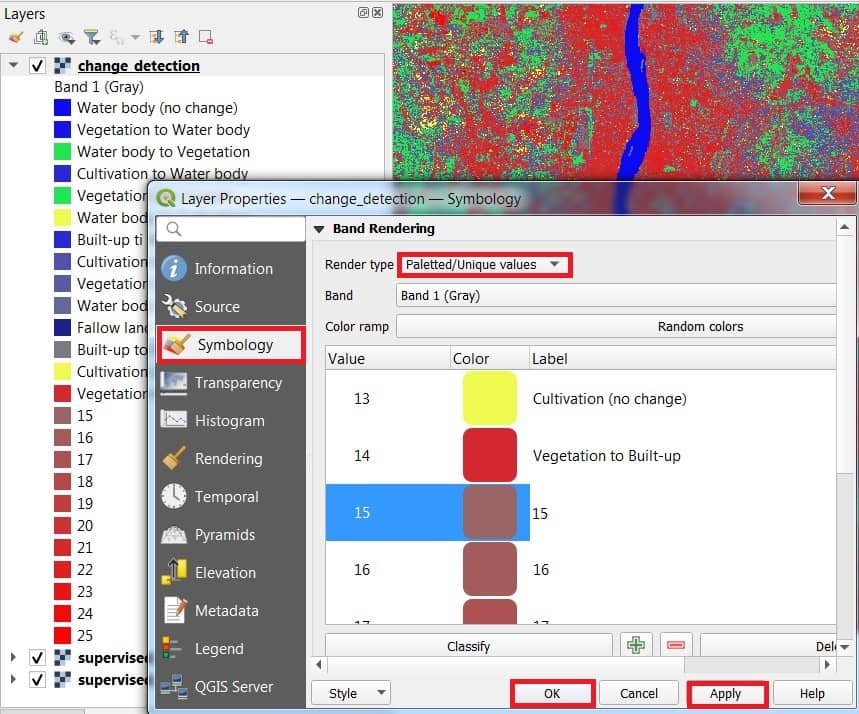
Now assessing change detection classes in the Symbology section.
1. In the Layer Properties, Right-click the change detection file, select Properties, click Symbology, Choose Rander type– Paletted/Unique values, and click Classify.
Now the very impotent, how to find what feature changes?
2. Fellow the change detection statistics table; reference class is represent to old data, and new class is represent to new data for change the feature.
3. For ex.- reference class id is 2, and new class id is 4, that means vegetation cover area change to built-up area. Because class id 2 represent to vegetation, and class id 4 represent to built-up.
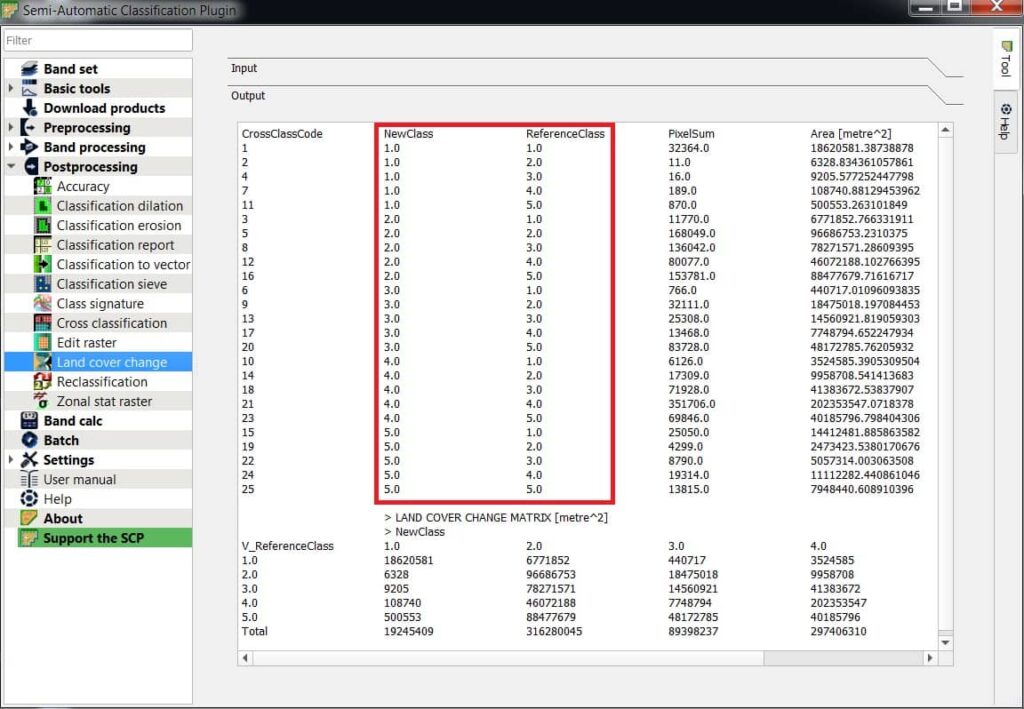
4. Remember one think, it is totally based on Cross Class Code. Follow the CrossClassCode column. See the value then decide which land cover feature change to new land cover feature.
5. In the Label section write the land use change feature name, then click Apply and OK.
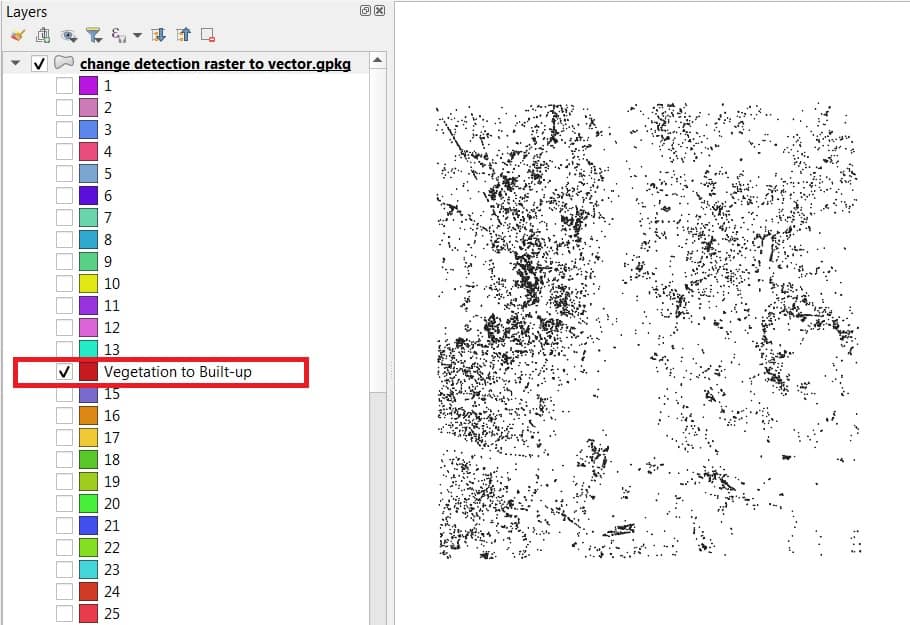
Change Detection Raster to Vector
This is impotent to better identify changes area.
Follow this tutorial- How to perform .Classification to Vector.
The process in compete, see the result one by one feature.