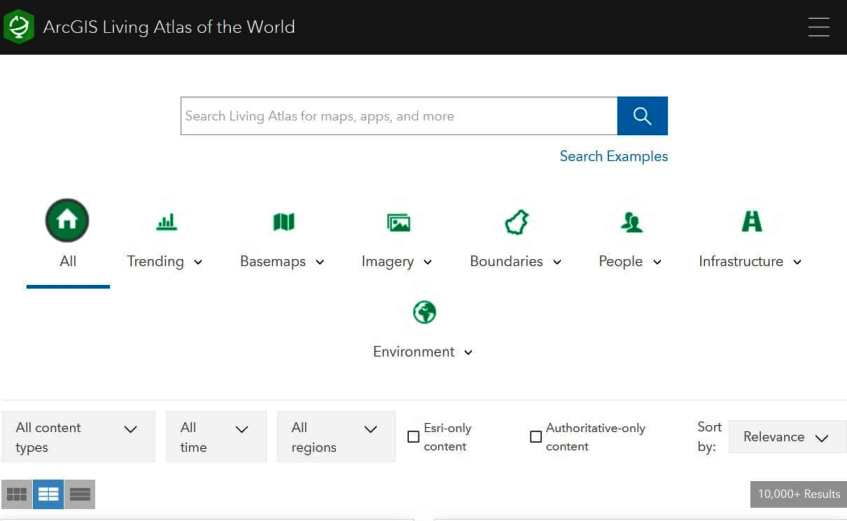
ArcGIS Living Atlas of the World
What is ArcGIS Living Atlas?
ArcGIS Living Atlas of the World is a collection of ready-to-use geographic information around the globe from Esri.
It includes maps, apps, and data layers, such as imagery, basemaps, demographics, landscape, boundaries and places, transportation, earth observations, urban systems, oceans, and historical maps.

How to use ArcGIS Living Atlas
You can use Living Atlas with your own content to create maps, scenes, and apps and perform analysis in Map Viewer Classic or ArcGIS Insights.
- Explore-maps, apps, and data layers from Esri and thousands of other organizations.
- Grab content-with your own data to create new maps and applications.
- Get inspired-how others are visualizing data and solving problems.
Access Living Atlas
To access Living Atlas of the World, you have an account ArcGIS Enterprise portal, or ArcGIS Online.
ArcGIS Living Atlas Tutorial
Browse ArcGIS Living Atlas Content
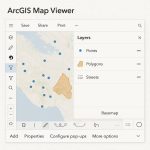
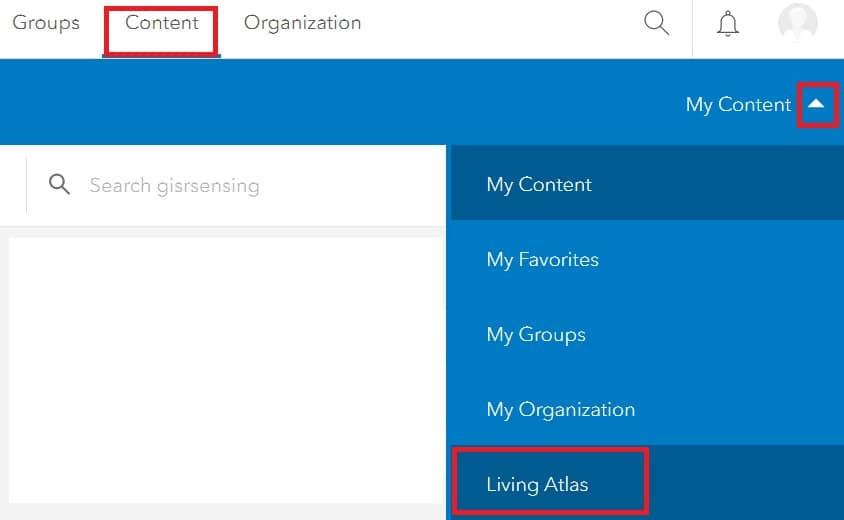
You can browse for Living Atlas maps, scenes, and web mapping apps from the Living Atlas tab on the Content page.
Follow these steps to browse the items on the Living Atlas tab on the Content page:
1. Sign in to your organization.
2. Click Content at the top of the web portal.
3. Click the Living Atlas tab.
4. Click the options button to access options to open the item details page or open the item in a map or scene viewed;
- Click View item details to open the item details page.
- Click Open in Map Viewer to open in Map Viewer.
- Click Open in Map Viewer Classic to open in Map Viewer Classic.
- Click Open in ArcGIS Pro to open a map, scene, or layer in ArcGIS Pro.
- Click Add to new map to open a layer in your default map viewer.
- Click Open in Scene Viewer to open a scene or layer in Scene Viewer.
- Click View Application to preview a web app.
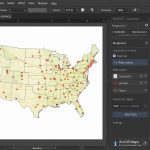
Add ArcGIS Living Atlas Layers to Maps
When you create a map in Map Viewer Classic, you can search for Living Atlas layers to add to your map.
Follow these steps:
1. Sign in to your organization.
2. Click Map at the top of the web portal.
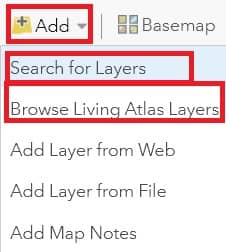
3. To access Living Atlas layers in the new Map Viewer, click Add > Browse layers > Living Atlas
4. Living Atlas layers in Map Viewer Classic, one of the following:
- Click Add > Browse Living Atlas Layers.
- Click Add > Search for Layers and choose Living Atlas from the drop-down list at the top of the search panel.
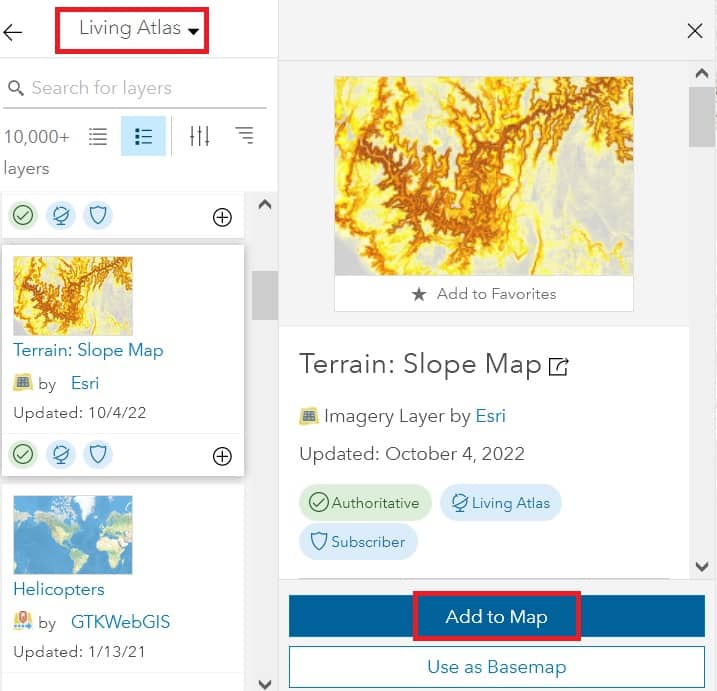
5. Type a keyword into the Search for layers box and press Enter to find related content.
6. Click the Filter button and choose Categories, an Item Type, Tags, and a Status to help you find the content you need.
7. Click the Sort button  to change the order of the search results.
8. Use the scroll bar in the Contents pane to scroll through the list.
9. Add the layer to the map, clicking the Add button  in the Contents pane. Click the Remove button
  on the layer in the search result list.
10. When you finish adding the layers you need, click Close (X) in Map Viewer or the Back arrow in Map Viewer Classic to close the search pane.
Add ArcGIS Living Atlas Layers to Scenes
Follow these steps to add 3D layers from the Living Atlas to your scene:
1. Sign in to your organization.
2. Click Scene at the top of the web portal.
3. Click Add Layers in the Designer pane of Scene Viewer.
4. Choose Living Atlas from the drop-down list at the top of the Designer pane.
5. Type a keyword in the Enter search terms box, and click the Filter button to access options.
6. When you find the layer, click Add to scene in the layer’s description pane.
7. Click the Done button, for finish adding layers to your scene.