ArcGIS Explorer Desktop
ArcGIS Explorer is a free, Geographic Information System (GIS) viewer that gives you an easy way to explore, visualize, execute and share Geographical information.
What is ArcGIS Explorer Desktop?
ArcGIS Explorer Desktop helps to connect Hopi youth with their heritage. It includes new functionality that will make your workflows easier and more efficient.
New search capabilities and presentation options are just some of the new features. Visualize data and photos in 3D using ArcGIS Explorer Desktop, then share them with others as layer packages.
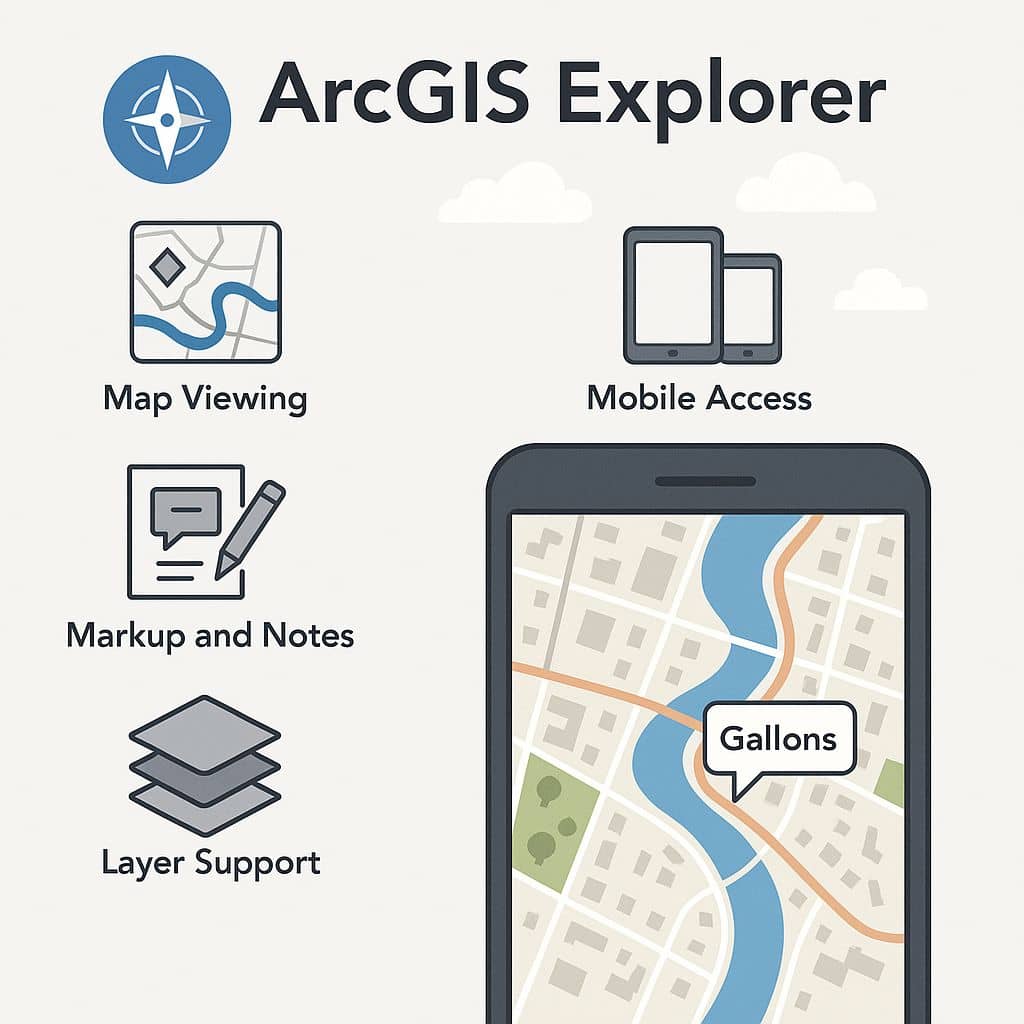
Key Features:
- Map Viewing
Open and view maps (2D/3D), layers, and basemaps from ArcGIS Online or local sources. - Markup and Notes
Add annotations, callouts, and simple drawings directly on the map. - Search Tools
Search for locations, features, and map services. - Layer Support
Supports various formats: shapefiles, KML, CSV, GeoPackage, and web maps. - Mobile Access
Available on Windows and iOS for field and offline use.
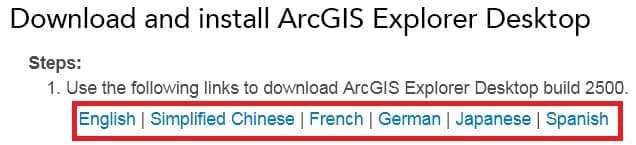
Download ArcGIS Explorer Desktop
ArcGIS Explorer Desktop build 2500 is now available for download. This version includes exciting new functionality and features, such as enhanced search and presentation options.
Visit the Download page, select your preferable language to download.
More information is available in the ArcGIS Explorer Desktop installation guide.
ArcGIS Explorer Tutorial
Basemap
1. Open ArcGIS Explorer Desktop. Make sure you have already installed.
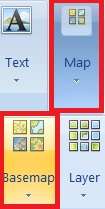
2. In the Home tab, click the Map > select Basemap from the menu and choose your suitable maps.
3. Zoom on the map until you can see your whole workflow area.
Add Content
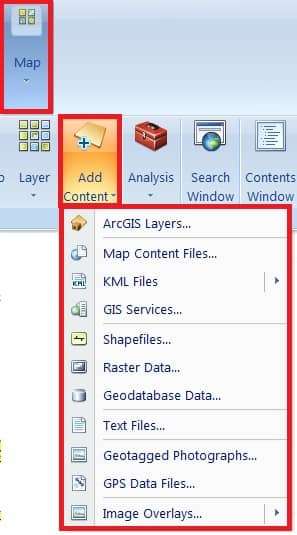
1. Click the Map > select Add Content and choose the file.
You can add any types of file, like; Raster, Vector (Shapefile), KML, Geodatabase file, etc.
Perform Analysis
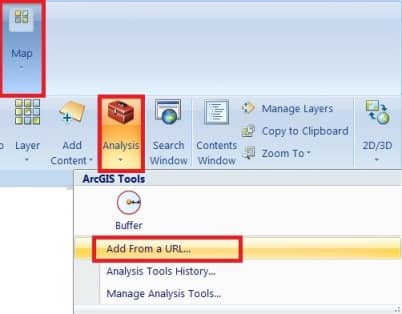
1. Click the Analysis tool from the menu bar and select Add from a URL. Add the GIS Service dialog box is open.
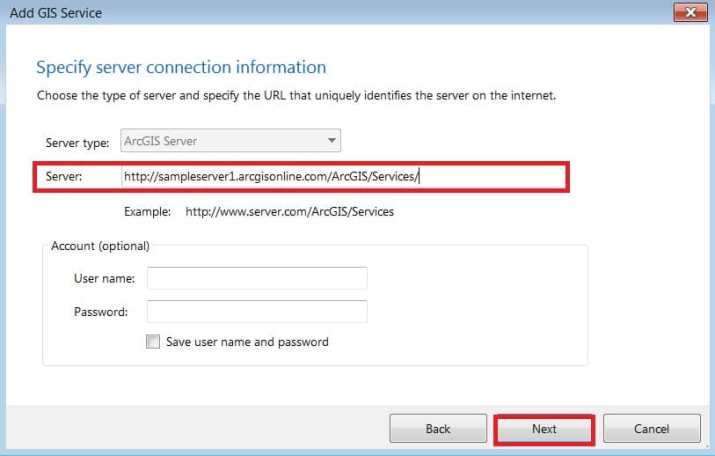
2. For the Server parameter, type this URL- http://sampleserver1.arcgisonline.com/ArcGIS/Services/, and Click Next.
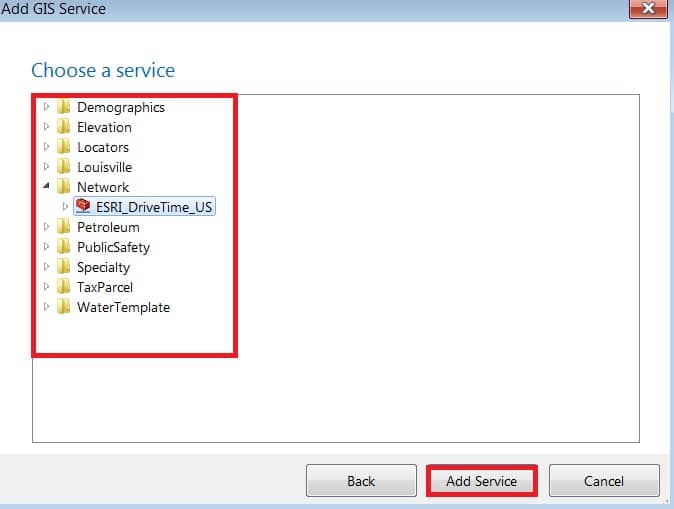
3. Within the same dialog box, you will see a panel. Choose a service. Inside the panel, there are many folders, each of which contains a service. You can choose anyone; ex.- expand Network folder, and select the ESRI_DriveTime_US service, then click Add Service.
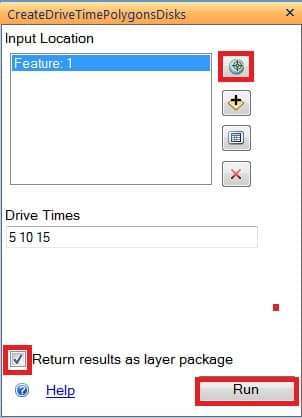
6. From the Network dialog box, click the Add Feature button. The cursor becomes a cross instead of an arrow.
7. Move the cross to the map and select any place that you would like to execute the Network task. Click the location you selected. You will see a pinhead at the location.
8. From the Network dialog box, check the Return results as layer package check box. Click the Run button to execute the task.
9. When the result is successful, you will see the result output added to the map.
Share a Layer Package
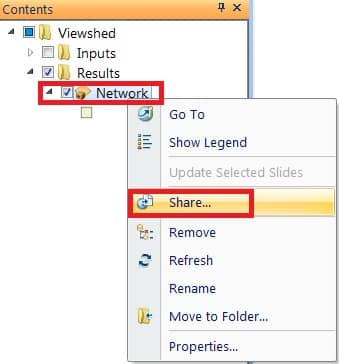
1. Navigate to the Results folder, right click Network and select Share to bring up a Sharing dialog box.
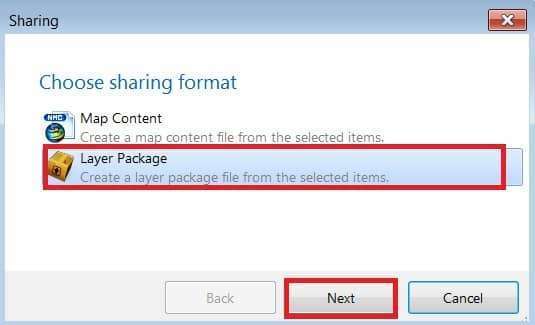
2. Choose Layer Package as the sharing format and click Next.
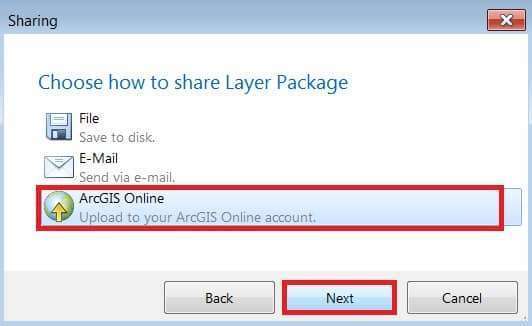
3. Select anyone option , would like to share the data file. Once you have selected, click Next.
If you Select ArcGIS Online, you will see an ArcGIS Online Sign in the dialog box. Provide your Name and Password to sign in.
Signed in process is complete, you will see an Upload window. Provide text for the required fields Name, Summary, and Tags, and check the group to which you would like to share, then click Upload.