Buffer in QGIS
Buffering usually creates two areas: one area that is within a specified distance to selected real world features and the other area that is beyond. The area that is within the specified distance is called the buffer zone.
In a GIS Application, buffer zones are always represented as vector polygons enclosing other polygon, line or point features.
How Buffer works
This algorithm computes a buffer area for all the features in an input layer, using a fixed or dynamic distance.
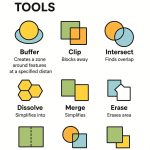
The segments parameter controls the number of line segments to use to approximate a quarter circle when creating rounded offsets.
The end cap style parameter controls how line endings are handled in the buffer.
The join style parameter specifies whether round, miter or beveled joins should be used when offsetting corners in a line.
The miter limit parameter is only applicable for miter join styles, and controls the maximum distance from the offset curve to use when creating a mitered join.
Create Buffer in QGIS
In this tutorial, create Buffer Polygon Anaysis in QGIS.
Steps:
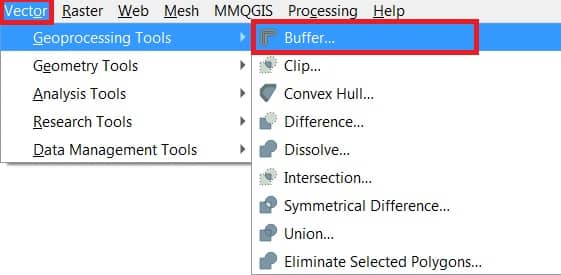
1. In the Toolbar menu, click on Vector , select Geoprocessing Tools, and click Buffer.
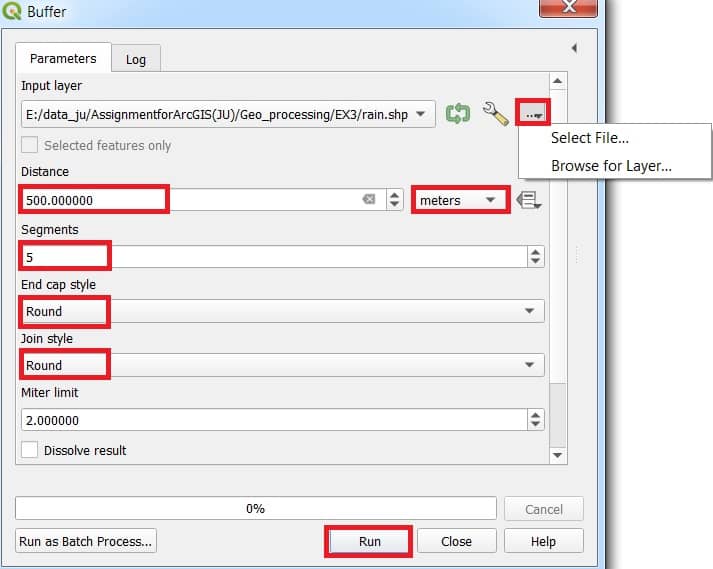
The Buffer analysis tool window appear, fill all the parameters.
2. In the Input layer section, browse and select data (ex.- rain).
3. Enter Buffer distance (ex.- 500), (The distance will be in meters)
4. Select buffer Segments, and choose Style.
5. Finally click Run button to complete this task.
Now show your result in the Layers panel, and also map canvas in QGIS.