Google GIS Tutorial
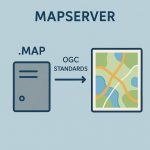
Google provides an amazing feature, to create your own map with Geographic (GIS) Data.
Create and Open Data in Google Map
Create a Map
1. At first, sign in to Google My Maps.
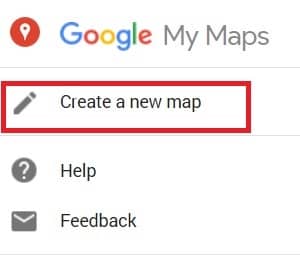
2. Click Create a new map.
3. Go to the top left and click “Untitled map.”
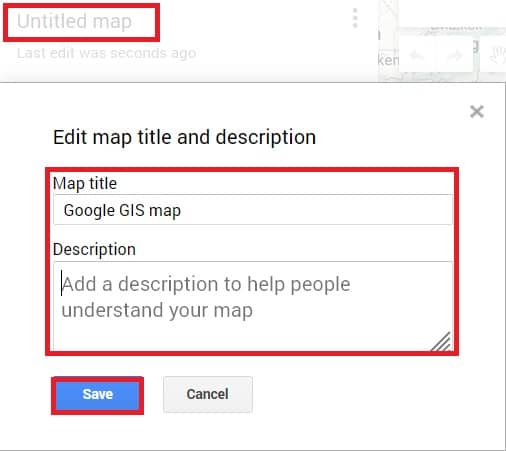
4.Write the name and description on your map.
5. Click Save.
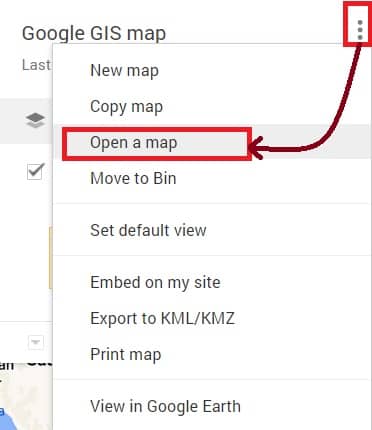
Open a Map
Once you have completed to create a map, you’ll see maps in ‘mymaps‘ section.
Add Places to your Map
1. Open or create a map of My Maps.
2. Click Add marker ![]() .
.
3. Select a layer and click where to put the place.
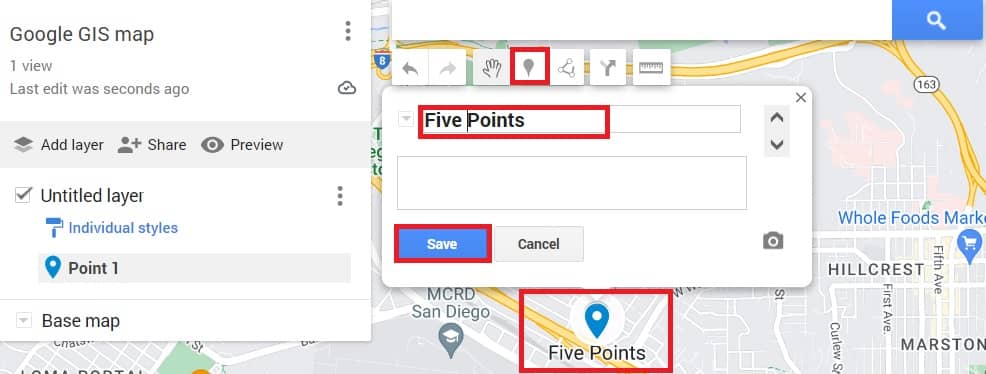
A layer can have 2,000 lines, shapes, or places.
4. Write the name and description on your map.
5. Click Save.
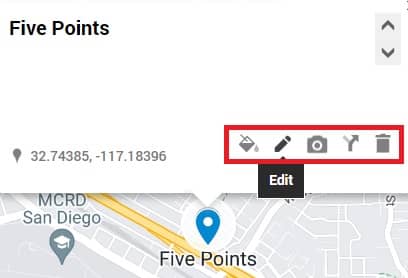
Edit a Place
1. Open your maps.
2. Click an existing place on the map. In the bottom right of the box that appears, use the icons to make changes.
- Remove a photo: Click Edit
 . Then go to the photo and click Remove
  .
. - Move the place: Drag the feature on the map.
Import Data
1. Open or create a map.
2. In the map legend, click Add layer.
3. Write the new layer’s name.
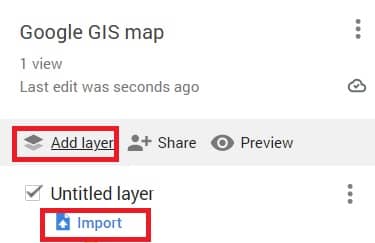
4. Under the new layer, click Import.
5. Upload the file or photos that have your info.
6. Then click Select.
Make sure your info is one of these file types:
- CSV
- TSV
- KML
- KMZ
- GPX
- XLSX
- Google Sheet
- One or more photos in Google Drive or Google Photos
Note:
Unzipped KML and KMZ files can be up to 5 MB.
CSV files and Google Sheet files both support WKT geometry format.
Other files can be up to 40 MB.
To import data properly, make sure you have a column with one of the following:
- Latitude-longitude information
- Addresses
- Place names
- WKT-formatted vector geometry objects
Do not import files with more than 2,000 rows. You can import up to 100 photos at a time.
Importing GIS Data in Google Earth Desktop
In this tutorial, you will need Google Earth Pro for Desktop installed on your computer. Download the latest version. In April 2017, Google Earth on Web was released, so you can also try web to import data for your project.
1. Open Google Earth Pro on your Desktop/Laptop.
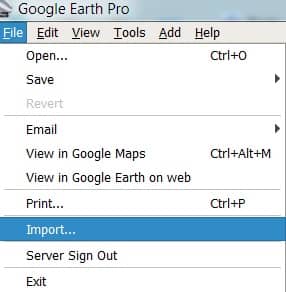
2. Once you have open Google Earth Pro, go to File menu, and Select Import.
3. Select your data file type. For this example, choose ESRI Shape (.shp).
A message will appear, stating that the file contains more than 2500 features and could cause application performance degradation.
4. When you see this message, you can choose Import all.
5. A message will appear, asking if you would like to create a Style Template. Click Yes.
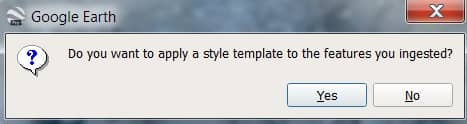
[You can also choose No option, if you don’t need to changes template style.]
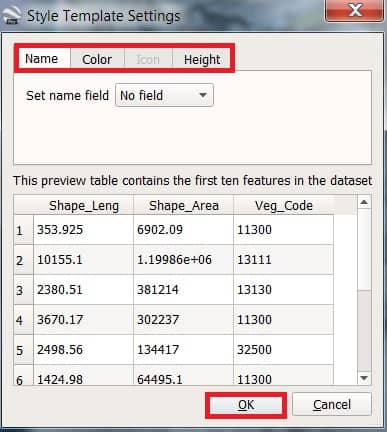
In the next Style Template Settings dialog box, you will create a style template, which will include colors, labels, and icons.
6. Once you have imported your dataset, you can optimize your file to limit the number of points displayed at higher altitudes, by using the Regionate tool, and following these steps:
- Save your imported vector dataset as a KML, then choose Regionate under the Tools menu.
- For the Input file, browse for your saved KML file. Then choose an Output folder where you want to save the regionated files.
- Check “Open regionated files when done” and click Regionate. Now, as you zoom in, you’ll see increasingly more points.