ArcGIS Mission Tutorial
ArcGIS Mission management software that combines situational awareness with command and control.
Table of Contents
What is ArcGIS Mission?
ArcGIS Mission is enabling analysts, mobile teams, and executives to quickly establish command and control, by organizing and managing teams and resources whether they are working planned events or dealing with unplanned circumstances.
The Mission fuses your organization’s data in ArcGIS Enterprise with real-time updates from the field and the command center to streamline mission management and inform decision-making.
You can use the Mission to streamline mission management; gain situational awareness, provide Geo-spatial-based, peer-to-peer communication in the field; and conduct post-mission reviews.
It is also allows you to create, share, and monitor maps, teams, and other materials for use in operations to interact with mission teams in real time.
Mission Components
The Mission has three components:- Manager, Responder, and Server.
Mission Manager
The Mission Manager web app allows you to built and organized where missions. This tools helps for map construction, organizing teams, communications, and more. Following:
- Creating mission maps, which can include graphics, overlays, or other reference layers
- Organizing a mission with members and teams
- Creating and leveraging mission reports
- Providing materials for missions, such as documents and photos
- Supporting active missions
- Overseeing Responder activity during missions
Mission Responder
The Mission Responder is the mobile app that allows users in the field to participate in active missions. Responder helps participants maintain communication and awareness of each other by providing communication tools and Geo-location tracking for mission members.
Mission Server
The Mission Server is an ArcGIS Enterprise server that links Manager and Responder. uses security protocols, including token-based authentication and WebSocket Secure connections, which allows persistent communication connections to be maintained securely.
How it Works?
- Plan: create a quickly mission by selecting an authoritative map from your organization’s ArcGIS Enterprise.
- Execute: Integrate and visualize multiple data streams securely in ArcGIS to track, monitor, and coordinate operations
- Review: analysis on mission activity to evaluate and understand patterns, enhance performance, and improve planning for future missions.
What Can Users Do with ArcGIS Mission?
Arc-GIS Mission delivers dynamic, real-time information to team members in the field and allows personnel to securely relay messages and observations to each other and the command center, even in disconnected environments. This makes it possible for team members to coordinate their activities, share their locations, and make better decisions.
Benefits of Mission
- Integrated command and control– use one solution to pre-plan operations, assign tactical resources, share information, communicate with team members, and review incidents.
- Tactical team awareness– visualize where personnel are and coordinate movement among team members based on real-time events and activity.
- Peer-to-peer communication– persistent communication enables teams to share location, tracks, and messages for stronger collaboration in disconnected environments.
- Improved understanding– leverage mission data to gain insights, increase transparency, and build trust with your team through post-incident analysis and review.
Create a Mission
The first step to create a mission in ArcGIS Mission Manager.
The following steps describe how to create a mission, see below:
Steps:
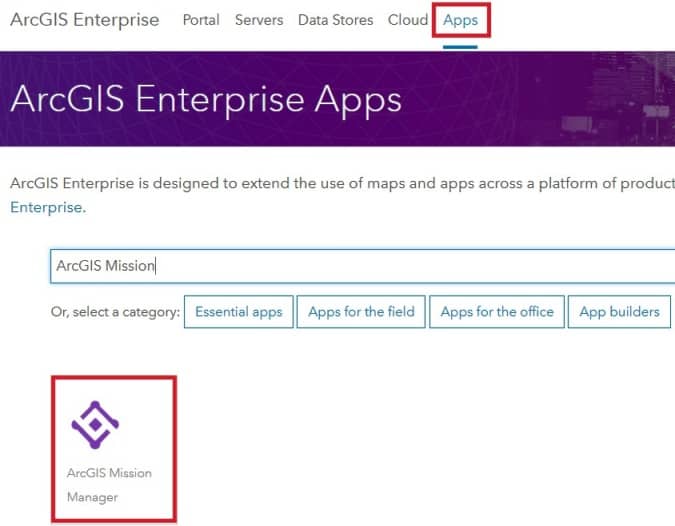
1. Sign in to ArcGIS Enterprise portal. Click the app launcher and choose Mission Manager.
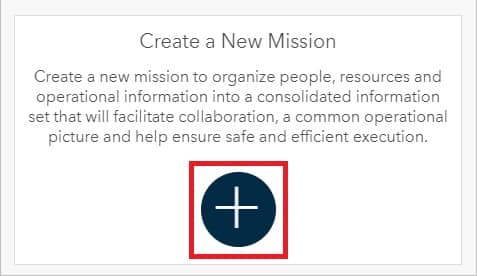
2. Click Create a New Mission button.
3. The Create New Mission pane appears, enter the following mission information:
- Mission Name (required):
- Summary (optional):
- Additionally, you can fill Description, Tags.

4. Next, in the map pane, click Choose Basemap.
5. Select the desired map extent for your mission map. You can also choose an existing web map.
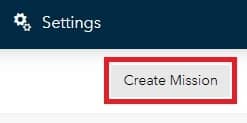
6. Click Create Mission.
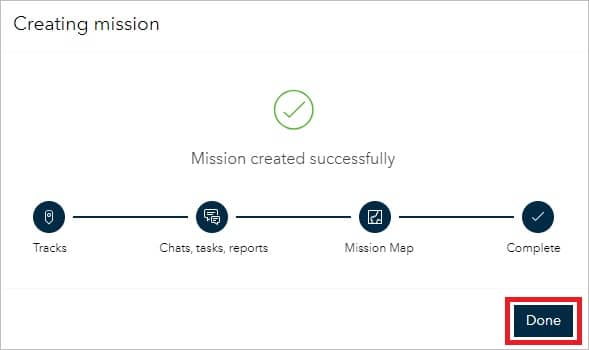
7. In the Creating mission window, click Done.