ArcGIS Drone2Map
Introduction
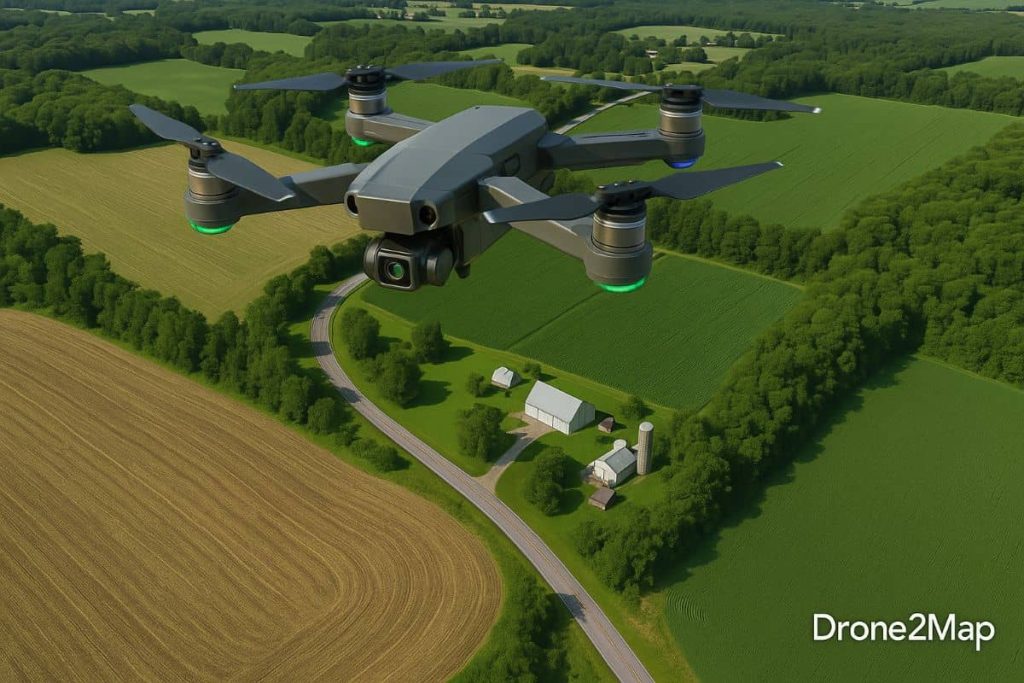
ArcGIS Drone2Map is the desktop application for Geographic Information System (GIS) drone mapping. It is capturing high-resolution imagery where and when need it.
Drone2Map provides easy access to a range of tools and capabilities for accurate mapping and geospatial analysis. It’s create the 2D and 3D Photogrammetry app, including orthomosaic, 3D point clouds, and textured meshes, and then easily share them with your ArcGIS organization.
Drone2Map Download
Drone2 Map for ArcGIS version 1.3 is available for download from My Esri and the Drone2Map for ArcGIS Help Site.
Once you have Downloaded Drone2Map, Get started with ArcGIS Drone2Map Tutorial.
Features:
- Easy to use app for processing drone images and publishing results
- Create accurate orthomosaics and surface models- DSMs and DTMs
- Perform high value analysis directly in the app
Applications:
- Monitor environmental changes
- Impact of natural disasters
- Create 2D and 3D maps
- Image capturing, processing, analysis, and sharing
How Its Works
- Capture data using drone data collection app.
- After the capture data, download drone imagery, Add ground control and automatically process to create 2D and 3D outputs.
- Visualize and analyze Drone2Map data.
- Perform advanced analysis- spatial, temporal, and spectral data management.
- Share your output imagery.
Price & License
Drone2 Map is a premium add-on extension to ArcGIS Online that makes it easy to convert drone data into authoritative 3D models and images while you are still in the field. Quickly and easily share these products with the project team. It has allowed you to spend less time in the field so you can focus on delivering better data-driven decisions.
The pricing and licensing options speak to an Esri–
INR 338,900/yr
Drone2Map Tutorial
Create a Project
Steps:
1. Open ArcGIS Drone2Map.
2. Sign in using your licensed ArcGIS account.
(If you don’t have ArcGIS Pro or an ArcGIS account, you can sign up for an ArcGIS free trial.)
Now the application opens.
3. On the template drop-down menu, click the 3D Products Template.
4. Write your project name.
You can also choose the location on your computer where the project data will be stored.
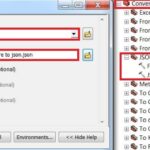
5. Click Add Folder.
6. The Browse for Image Folder window appears, browse to the Drone_Images folder. Click OK to add the folder’s images to the list of images.
(Each image has Lat [Y], Long [X], and Alt [Z] attributes)
7. Click Create.
Now the project is created and the images are added to the map, with each image represented by a blue point.
Drone2Map Help–
ArcGIS Drone2Map provides to free training via the Esri Training website. ESRI help you to learn Drone2Map, and the latest technology, we have the resources to help you.