Map Layout in ArcGIS
In this Tutorial Learn, how to create Map Layout view in ArcGIS.
A map layout or page layout is a cartographic design, designed for map printing, using such common map elements; scale bar, north arrow, map title, descriptive text, and a symbol legend.
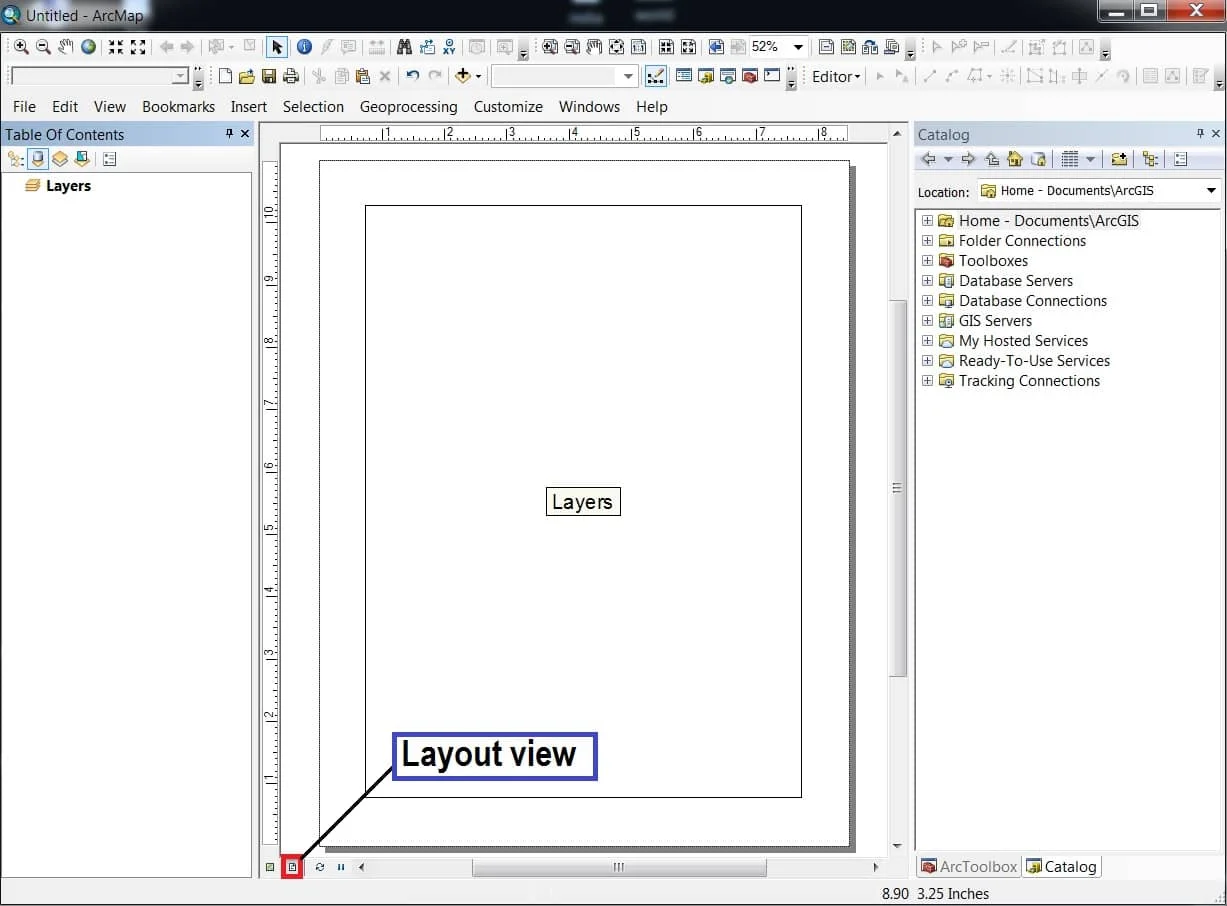
1. The first step in ArcMap is to change your map view to layout — by selecting Layout View from the View menu.
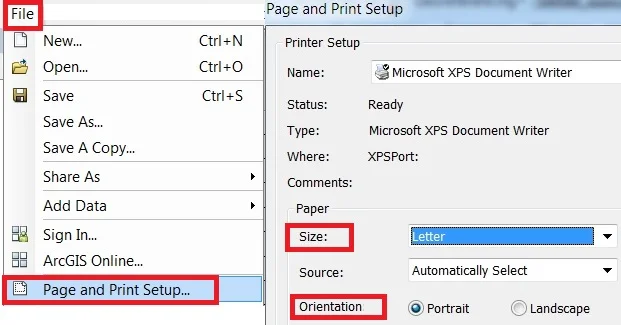
2. Set your layout’s page size and Orientation. Go to the File menu, and select Page and Print Setup.
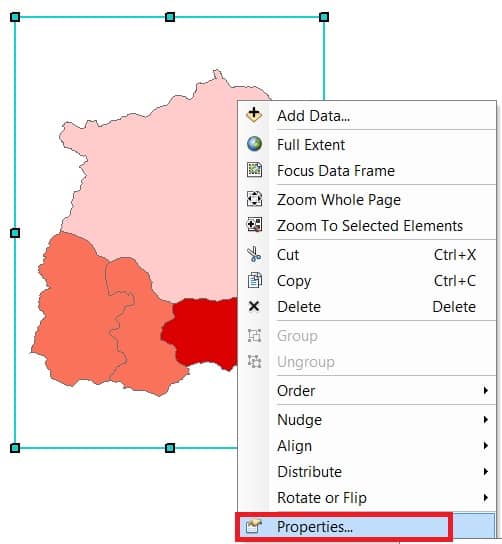
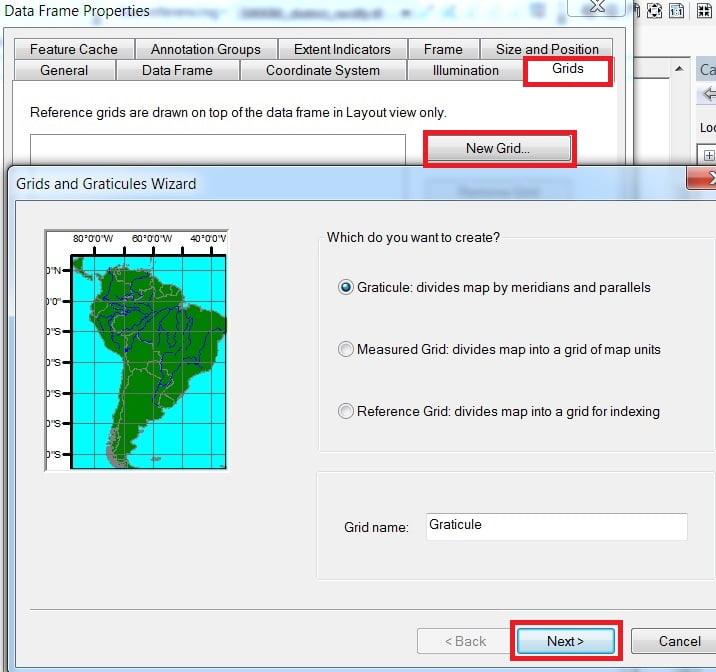
3. In Layout view add Grides (coordinates value), Right-click layout view > properties.
4. The Data frame properties window appears, select Grides > New Grides.
Grides and Graticules are open, click next, and set all the properties.
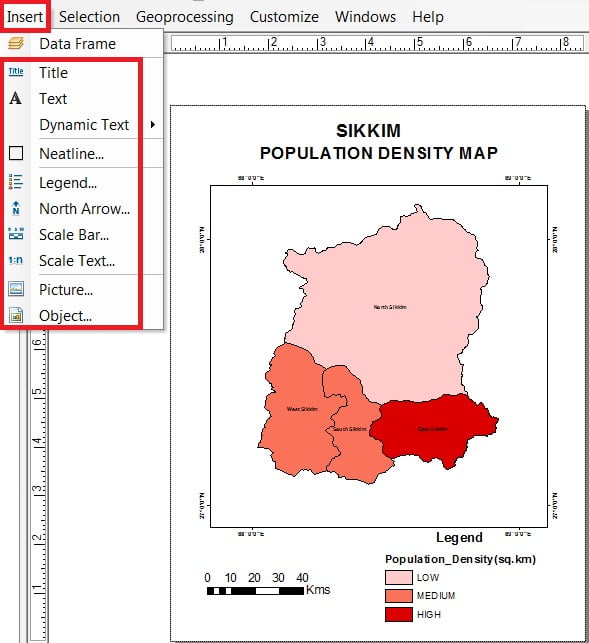
5. Click the Insert menu to add elements to your layout. If you have more than one data frame in your map, the elements you insert will relate to the active data frame.
Layout Toolbars
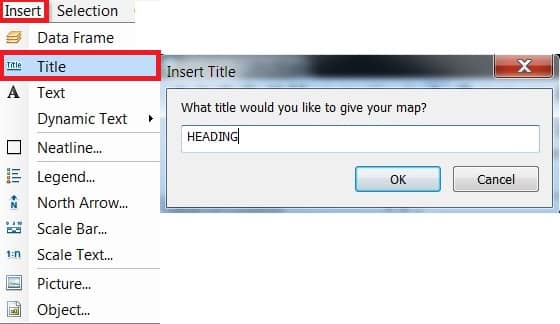
Title
In the Title frame write project Title or Heading.
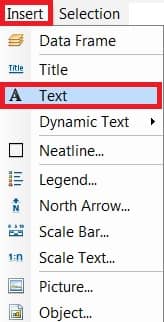
Text
Need any kind of Text, for use Text box.
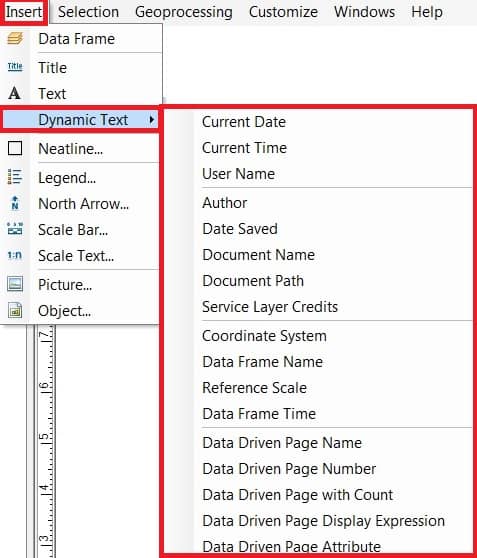
Dynamic Text
Use the Dynamic Text, add Date, Time, Author name, etc in your project.
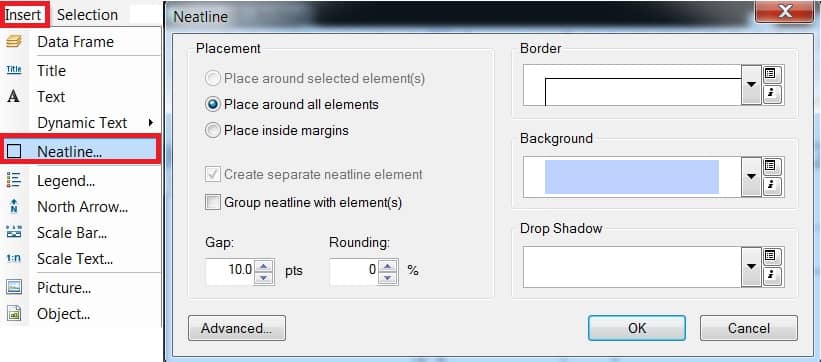
Neatline
Neatline help to add Broder, Background color for your Layout.
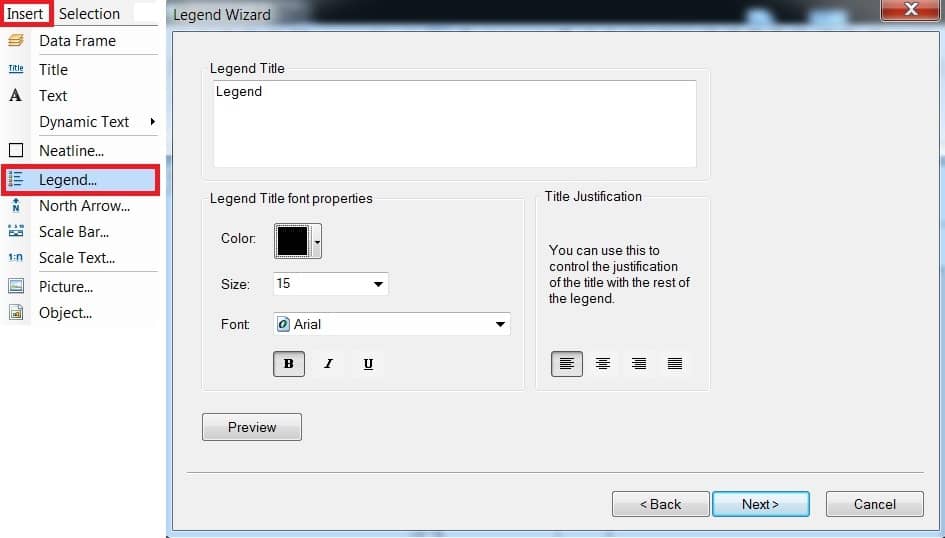
Legend
Legend is the Indexing for the project.
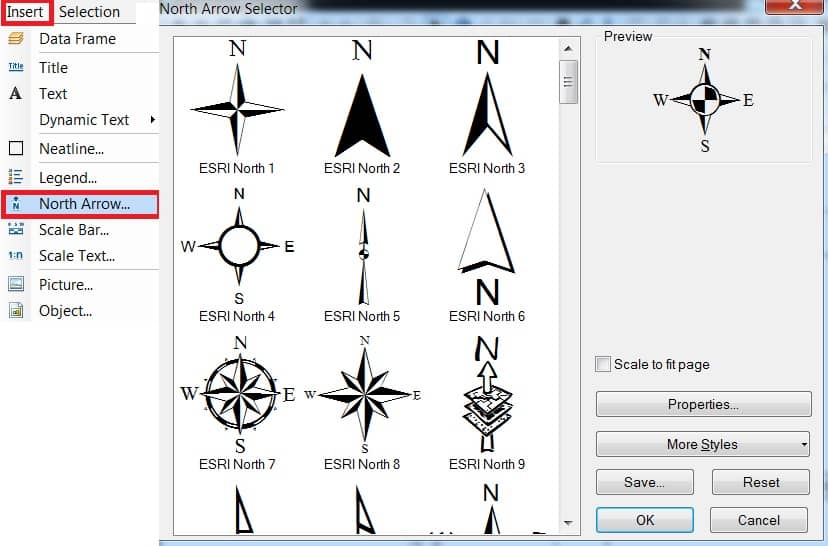
North Arrow
North Arrow indicate the orientation of the map..
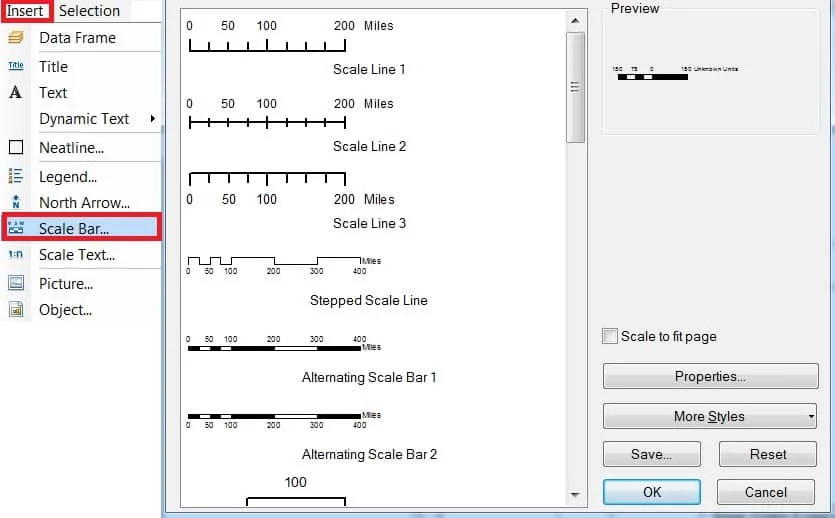
Scale Bar
Measurement of map Scale for use in Scale Bar option.
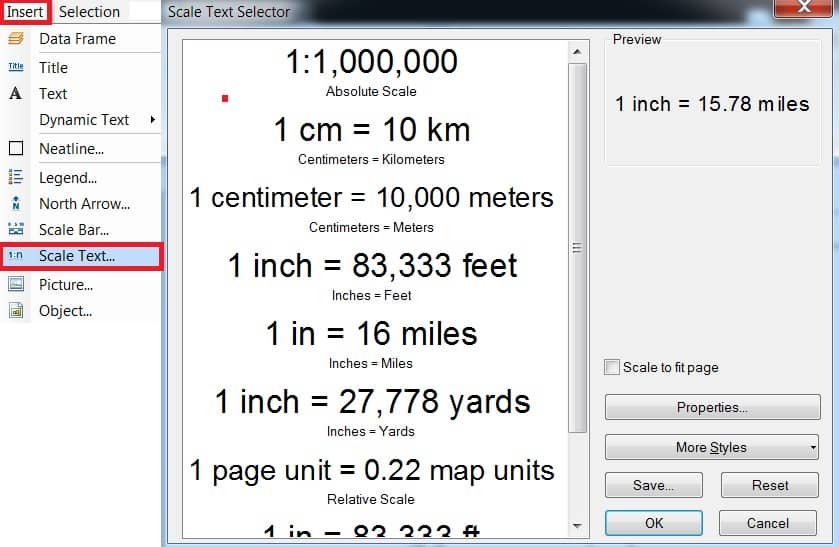
Scale Text
Scale Text is a another option to description of scale unit conversion.
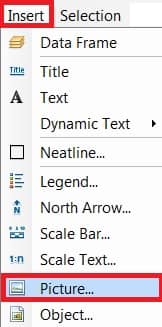
Picture
Add any types of Picture for your project to this Picture option.
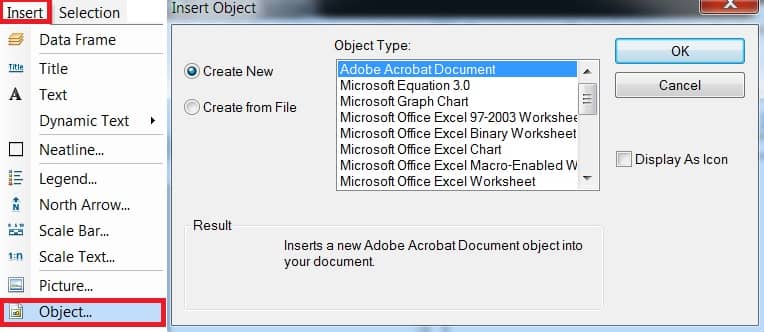
Object
Insert a new embedded Object into the map.
Draw Tool
The Draw toolbar can be used to add graphic shapes such as rectangles, lines, and points. You can also add graphic text and edit text properties.

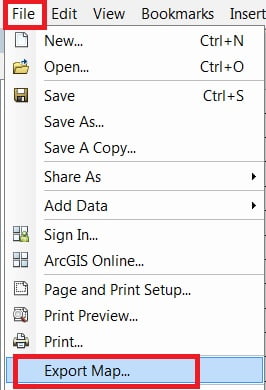
5. Finally, print or export the layout view as an image file. Go to File menu > Export Map.
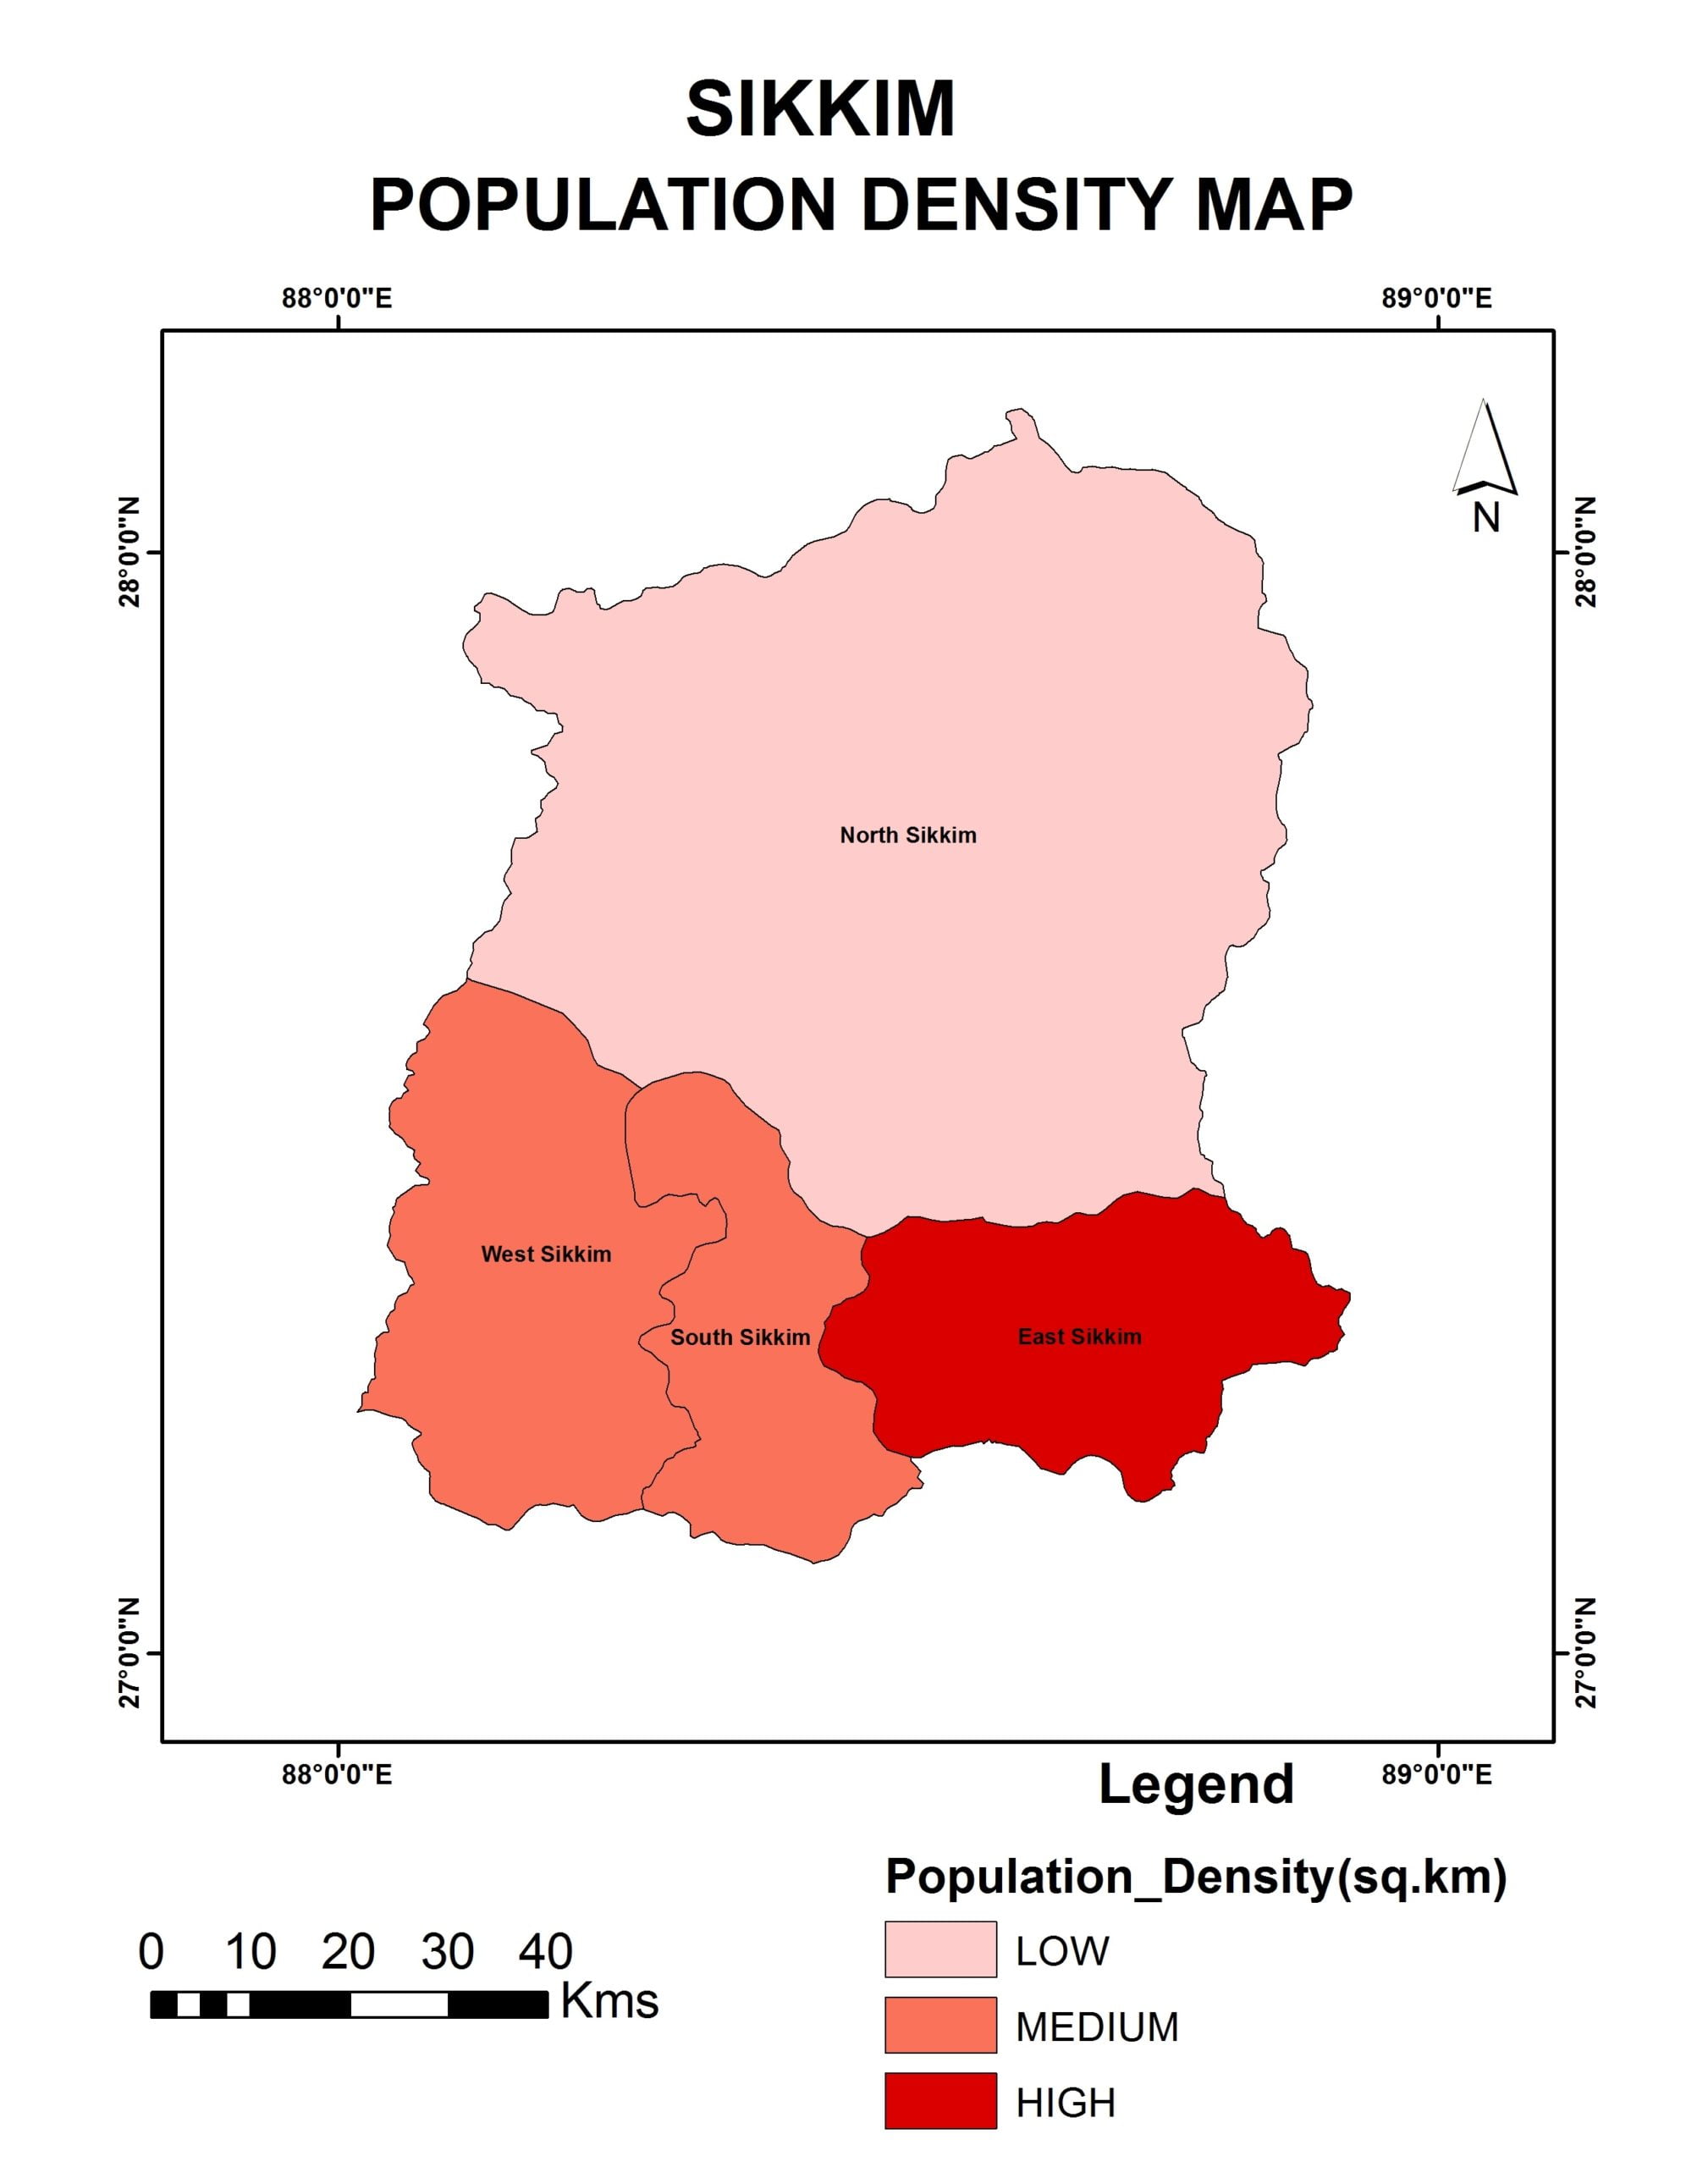
Now show to your Layout view in ArcGIS.