ArcGIS Story Maps
Table of Contents
What is ArcGIS StoryMaps?
ArcGIS StoryMaps is a story authoring web-based application, create inspiring, immersive stories by combining text, interactive maps, and other multimedia content. Publish and share your story with your organization or everyone around the World.

ArcGIS Story Map Feature
- Create Stories, include maps, narrative text, lists, images, videos, embedded items, and other media.
- Publish and share your stories, within your organization, to specific groups, or with everyone.
- Create and publish your collections, it’s include stories and ArcGIS web apps bundled together.
- View and edit your stories from the Stories page, find stories authored by others in your organization, and add stories to your favorites list.
Advantages of ArcGIS Story Maps
- ArcGIS Story Maps provides a single authoring experience, to create your own stories with a variety of contents.
- Configure web scenes and create bookmarks without leaving the story builder, and the pop-ups.
- Legends, and other map elements have been improved.
- Change the look your story- background colors, accents, fonts, express maps, and more.
- Manage and Share your story with everyone.
- You can share published stories and display them as formatted cards on social networks.
ArcGIS Online Story Maps
1. Before start your story, 1st Sign Up/ Sign In
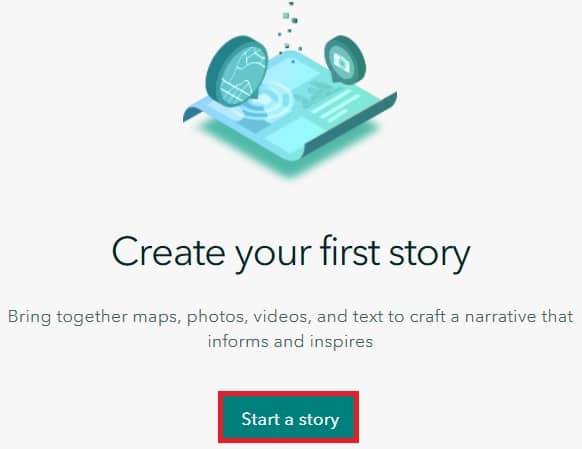
Create your 1st ArcGIS Story
2.Successfully Log in, in Arc GIS Story Maps portel, create your first story. Click Start a Story (New story) button.
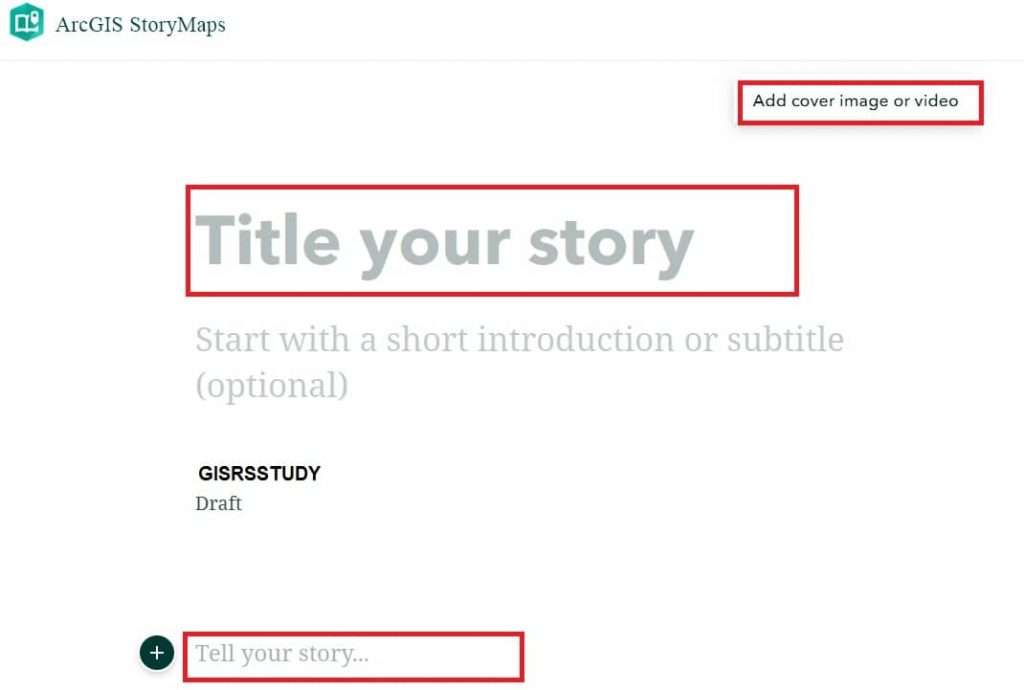
3.Customize your Story: Titel, Discription, Image/ Video, and more.
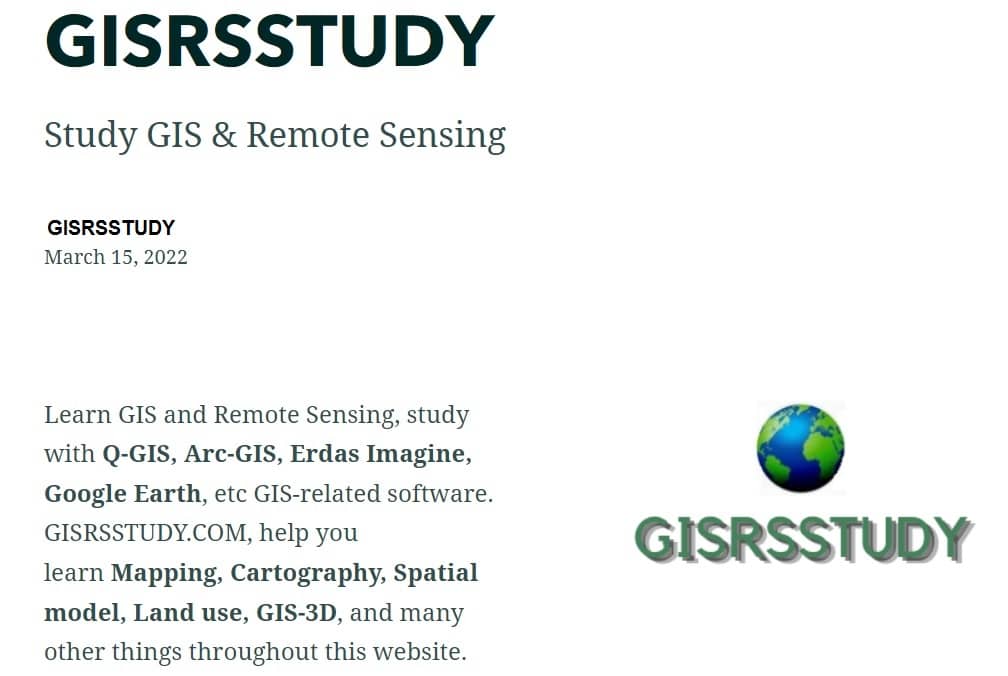
ArcGIS Story Map Examples
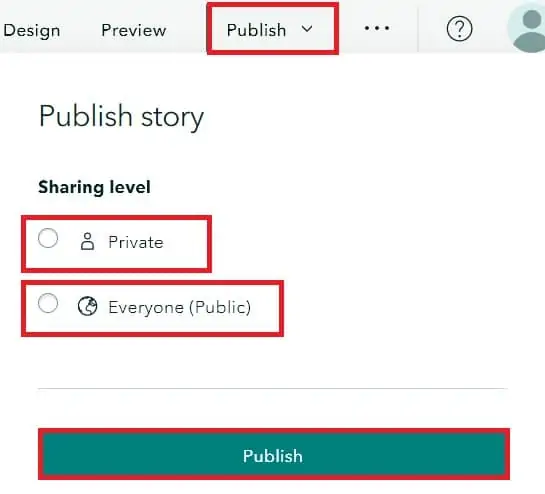
4.Pubsish Story: Click Publish button in the upper right corner, select your sharing level (i)private or (ii)public, then Pubsish your Story.
Configure Date settings
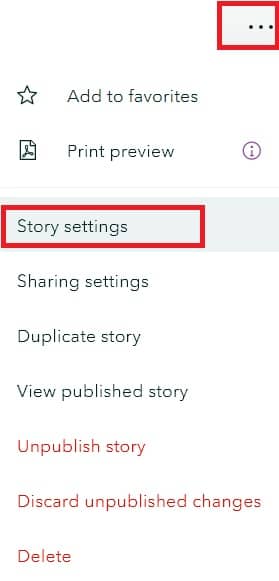
- In the story builder, click the menu button. Click Story settings to open the Story settings menu.
- Choose one of the options from the Date on cover drop-down menu. Original publication date, Date of last update, or None, and click Save.